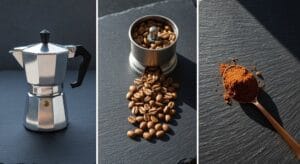
To craft perfect chocolate cold coffee, gather coffee, cocoa, milk, ice, and sweetener. Prepare a glass by drizzling chocolate syrup and chilling it. Brew strong coffee concentrate, stirring in melted dark chocolate. Mix cocoa with sugar for smoothness, then blend everything with ice. Top with frothed milk or whipped cream, finish with a chocolate drizzle. Adjust sweetness to taste, perhaps adding cinnamon. Curious about next-level tricks? The full breakdown’s got you covered!
Gather Your Ingredients and Tools
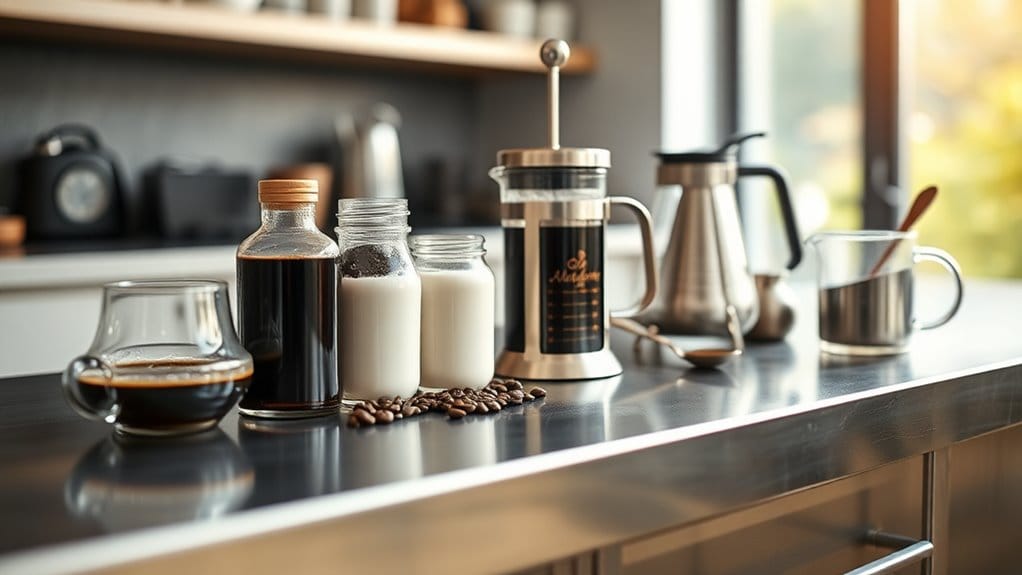
Before diving into the frothy fun of making chocolate cold coffee, gathering everything needed saves time and avoids frantic kitchen hunts. Start with the basics for iced coffee choco: instant coffee or brewed capsules, cocoa powder, chocolate syrup or melted dark chocolate (70-75% for richness).
Maximize efficiency by prepping instant coffee, cocoa powder, and dark chocolate upfront. Optional boosts: milk powder or whipped cream for seamless prep, smooth blending, and rich flavor.
Whole milk brings creaminess, while sugar balances bitterness—swap for alternatives if desired. Grab a blender to whip ingredients smooth, ice cubes for that chill factor, and measuring tools for precision.
Optional upgrades? Chocolate shavings, milk powder for thickness, or whipped cream for flair. Keep glasses chilled to lock in frosty vibes.
With coffee’s boldness and chocolate’s sweetness at your fingertips, this recipe transforms pantry staples into a crave-worthy escape—no café needed. This method, celebrated by Local Guides Connect community members, highlights shared passion for crafting café-style drinks at home. Accept simplicity, and let your creativity shake up summer sips.
Prepare the Serving Glass With Chocolate Garnish
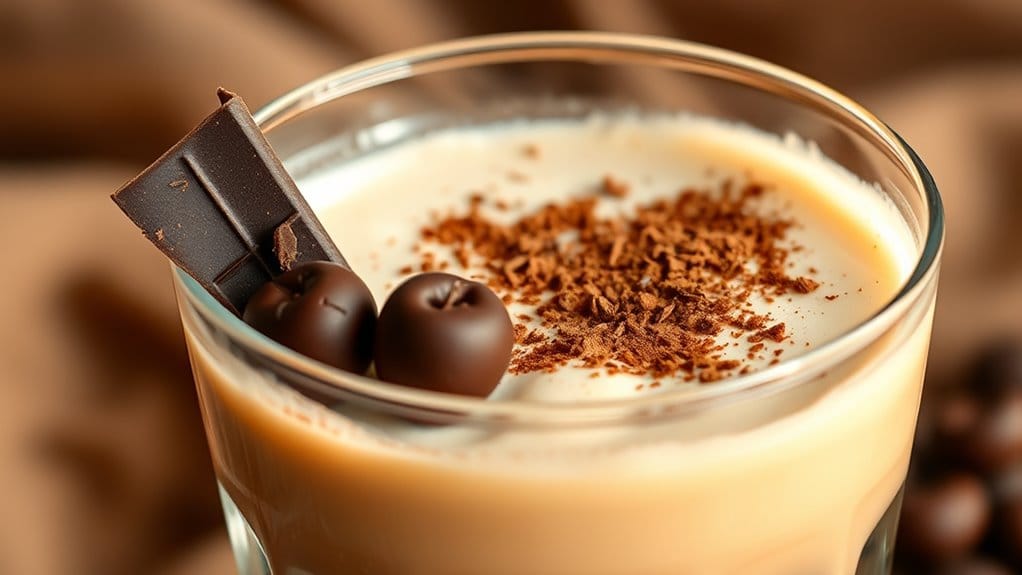
While the coffee mixture chills, the serving glass gets a chocolate makeover fit for Instagram fame! Chocolate syrup drizzles in zig-zags, splatters, or spirals cling to the glass, adding flavor bursts with every sip. A plate of chocolate shavings waits nearby—press the glass rim into it for a crunchy, cocoa-dusted edge. Freezing for 10 minutes is crucial here, as it prevents the decorative elements from sliding down the glass when filled. Chilling the glass briefly locks the garnish in place, ensuring style survives the pour.
| Technique | How-To | Why It Rocks |
|---|---|---|
| Syrup Drizzle | Swirl inside walls, freeze 5 mins | Layers flavor, looks pro |
| Shavings Rim | Press glass on shaved chocolate | Adds crunch, cafe vibes |
| Ice Cream Topper | Scoop on froth, drizzle syrup | Creamy texture, melt-in-sip magic |
| Whipped Cream Clouds | Pipe high, dust with cocoa | Fluffy contrast, photo-ready height |
| Chill Time | Freeze decorated glass 10 mins | Garnish stays put, drink stays frosty |
Every step invites personal flair—thick syrup rivers, shavings piled high, or minimalist elegance. Creativity’s the only rule here.
Brew a Strong Coffee Concentrate
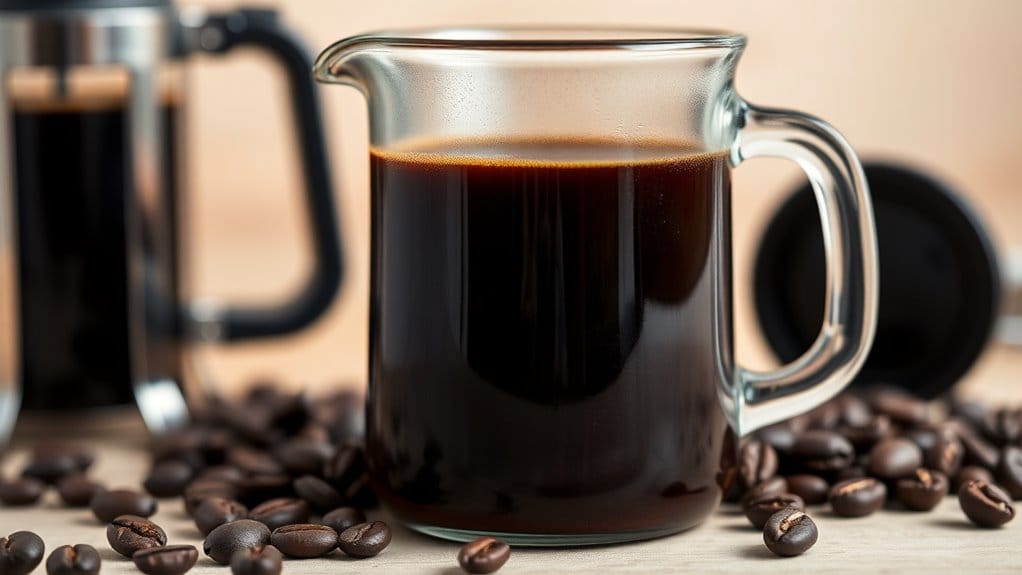
Brewing a strong coffee concentrate mixes science magic—coarsely ground beans meet cold water, then time does the heavy lifting! Opt for filtered water to enhance clarity and taste, avoiding any tap water impurities that might muddy your brew. This slow, cold extraction reveals bold flavors without bitterness, creating a liquid caffeine powerhouse ready to mingle with chocolatey goodness. To achieve this, remember that immersion brewing techniques ensure full flavor extraction without channeling, highlighting the unique characteristics inherent in each bean.
1. Get the ratio right****
Combine 1 cup coarse-ground beans with 3–4 cups cold water (adjust for strength!), letting freedom reign. Prefer stronger? Add beans. Love subtlety? Pour more water. No rules, just a golden ratio *you* control.
2. Patience is your frenemy
Steep 12–24 hours in the fridge. Time amplifies richness—like a coffee spa day. Patience pays in smooth sips, but forget it too long, and bitterness crashes the party.
3. Filter like a pro
Strain through cheesecloth or a sieve, ditching gritty grounds. Clear, silky concentrate = your ticket to chocolate-coffee nirvana. Now, go sip your freedom (and grab that chocolate next!).
Melt Dark Chocolate Into the Coffee
Melt dark chocolate into coffee like a pro by starting with a chocolate bar that’s 60% to 70% cocoa—this “Goldilocks zone” balances sweet and bitter, no sugar overload!
Break the bar into tiny chunks, or grate it like cheese, to help it melt smoothly without clumps. Use hot, not boiling, coffee (around 122–140°F) for maximum melt power, stirring with gusto until silky ribbons form.
Skipping chips? Good call—bars blend better, avoiding that weird waxy aftertaste. If your coffee cools too fast, microwave the mix for 10-second bursts, stirring like you mean it.
Watch the chocolate dissolve into the brew, creating a velvety base for icy milk later.
Pro tip: burn the chocolate, and your drink tastes like a campfire—nobody wants that!
Combine Cocoa Powder and Sweetener
Combining cocoa powder and sweetener is key to balancing flavors, since unsweetened cocoa can be strong and bitter. Adjusting sugar or alternatives to taste prevents overpowering.
Whisking them with a splash of warm water initially helps dissolve clumps, creating a smooth base that blends easily into coffee or milk without grainy bits.
For a frothier texture, try using a handheld mixer or milk frother—this also evenly distributes the sweet, chocolaty mix, like a mini science experiment you can drink, minus the lab coat!
Balancing Flavor Intensity
When crafting the perfect chocolate cold coffee, balancing cocoa powder and sweetener is as essential as choosing the right mug—mess it up, and the drink might taste like bitter regret or sugary overload.
The goal is harmony: too much cocoa overpowers, too little sweetener stings. Here’s how to nail it:
- Begin with a 1:1 ratio—mix 1 teaspoon cocoa with 1 teaspoon sweetener to create a base, then adjust up or down based on your coffee’s strength. (Too bitter? Add sugar. Too sweet? More cocoa.)
- Dissolve the cocoa in heat—whisking it into a splash of hot water or warm milk first eliminates chalky texture, ensuring smooth, rich flavor in every sip.
- Play with sweetener freedom—swap sugar for honey, maple syrup, or even a pinch of salt to amplify chocolate notes without turning your drink into a candy bar.
Taste as you go—your palate, your rules.
Mixing Technique Tips
| Tool | Process | Result |
|---|---|---|
| Mini whisk | Vigorous swirling in warm water | Smooth, lump-free paste |
| Milk frother | 10-second spin | Instant silkiness |
| Spoon | Stir like you’re beating eggs | Mostly smooth, arm workout included |
Skip the sand-in-your-coffee vibe—warm water is cocoa’s best friend.
Froth Milk for Optimal Creaminess
Frothing milk creates a creamy layer that makes every sip feel luxurious, and it’s easy with tools like handheld frothers, steam wands, or even shaking milk in a jar until it’s fluffy.
Whole milk works best for velvety foam because of its protein and fat, but non-dairy milks like oat or almond can work with a bit of practice.
For cold foam, chill everything initially, then froth until it looks like a tiny, happy cloud ready to float on your coffee! Additionally, using coarse ground coffee will enhance the overall flavor of your chocolate cold coffee experience.
Milk Frothing Techniques
For creamy, dreamy coffeehouse-style foam, choosing fresh, cold milk and the right tools makes all the difference. Whole milk from the fridge froths best, creating tiny bubbles that hold their shape for that rich, velvety feel. The contrast of flavors in your coffee can be elevated by utilizing an AeroPress coffee maker, which allows for precise brewing techniques.
Whether using handheld gadgets or clever kitchen hacks, nailing the technique turns ordinary milk into a fluffy cloud for your iced chocolate coffee. One great alternative for frothing is the French Press, which can produce impressive results with minimal effort.
1. Steam Wands
The barista’s go-to tool, steam wands on espresso machines create silky microfoam. Angle the wand slightly, submerge it just below the milk’s surface, and let it whirl until warm (135–150°F)—overheating kills the sweetness.
2. Handheld Frothers
Battery-powered wands whip cold milk into foam in moments. Move the spinning head up and down to trap air, aiming for a pourable froth that’s light but luxe—no fancy equipment needed.
3. French Press Hack
Pour cold milk into a clean French press, pump the plunger rapidly for 30 seconds, and boom—creamy foam! It’s a secret foam machine hiding in your cupboard, perfect for non-dairy milks or quick cold froth.
Achieving Velvety Texture
Crafting velvety foam for an iced chocolate coffee hinges on three secrets: the right milk, proper chill, and a trusty frothing method. Whole milk, with its higher fat content, delivers unbeatable creaminess, though oat or almond milk work in a pinch for lighter textures. Additionally, barista oat milk can be used for plant-based drinks, as it produces a rich microfoam without compromising on flavor.
Chill milk thoroughly—cold temps stabilize foam, preventing sad, watery separation. Froth using a handheld wand for silky microfoam, or shake chilled milk in a jar like a maraca for playful DIY results. Avoid overdoing it; stop when foam looks thick and glossy, not bubbly or curdled. Pour gently over your coffee to preserve layers, creating that café-worthy sip. The average caffeine concentration in Americano is around 12.83 mg per fluid ounce, ensuring your cold coffee is just the right pick-me-up!
Bonus: sprinkle cocoa or cinnamon pre-froth for flavor bursts, because life’s too short for bland foam!
Layer Ice Cubes in the Chilled Glass
Layering ice cubes in a chilled glass is a game-changer for cold coffee lovers, keeping drinks frosty without turning them into a watered-down mess. This step guarantees the coffee stays bold, the chocolate stays rich, and the whole experience stays invigorating from initial sip to last.
- Use ice cubes with purpose: Swap regular ice for large cubes (or fun shapes like coffee beans) that melt slower, or make coffee ice cubes by freezing leftover brewed coffee—double the chill, zero dilution.
- Build layers for flair + flavor: Alternate white milk ice cubes and dark coffee ice cubes for Instagram-worthy stripes, or stack chocolate milk cubes at the bottom for a sweet surprise as they melt.
- Chill smarter, not harder: Freeze the glass initially (10 minutes in the freezer!), so ice stays rock-solid longer—no sad puddles, just crisp, cool sips.
Pro tip: hate weak coffee? Think of layered ice as your drink’s “bodyguard” against watery disasters.
Perfect for those who want their drink as bold as their personality.
Pour Coffee-Chocolate Mixture Over Ice
Pouring the coffee-chocolate mixture over ice turns a plain glass into a chilly, chocolatey paradise, where cold meets bold. This step is all about finesse—slowly tipping the velvety blend onto waiting ice cubes, so the drink stays crisp, not watered down.
Using chilled or cooled coffee-chocolate liquid helps the ice stay firm, locking in flavor while frosty textures dance on the tongue. Drizzle chocolate syrup inside the glass initially for extra flair, sticky sweetness clinging to the sides like edible art.
Aim the pour close to the rim, letting the dark brew cascade gently to avoid splashes, keeping layers distinct. Large ice cubes work best, their chilly bulk melting slower, guarding against dilution.
Every sip becomes a balance of bold coffee, silky chocolate, and the snap of frost—proof that simple steps can create magic.
Top With Frothed Milk or Whipped Cream
The final layer of frothed milk or whipped cream enhances the coffee, creating a lusciously smooth texture and a visually inviting finish.
Cold foam adds a light, airy swirl, while whipped cream offers a rich, creamy crown that slowly melts into the drink.
A dash of cocoa powder, chocolate shavings, or a drizzle of syrup completes the presentation, turning each sip into a sweet, satisfying experience.
Enhance Creamy Texture
A dollop of whipped cream or a cloud of frothed milk isn’t just pretty—it’s a game-changer, turning basic coffee into a creamy, dreamy sip. The right topping adds richness, layers flavor, and makes every sip feel luxurious, like sipping dessert.
- Choose your texture tool: Heavy cream (22%+ fat) whips into fluffy peaks that melt sweetly, while nonfat milk foam stays airy and slow-dissolving. Mix oat milk and cream for a frothy middle ground.
- Whip, shake, or froth: Cold heavy cream whipped fast traps air for volume, or shake cream, cocoa, and vanilla in a jar for quick chocolate fluff. Frothers turn milk into silky clouds without the workout.
- Timing is everything: Add toppings right before serving—whipped cream melts fast (hello, instant creaminess!), while sturdier foam lingers, keeping each sip smooth till the last drop.
Decorative Final Touch
Whether upgrading a chilled coffee with a dollop of whipped cream or a swirl of frothed milk, the finishing touch transforms sipping into a mini-celebration.
Whipped cream, rich and velvety, brings sweetness and indulgence, while frothed milk offers a lighter, airy texture that clings to the coffee’s surface.
For flair, drizzle chocolate syrup over the foam, sprinkle cocoa powder, or add a pinch of chocolate shavings—tiny details that scream “fancy” without effort.
Use a handheld frother for foam or whip cream with a whisk, mixer, or even a jar shaken like a dance move.
The trick? Chill the cream initially for peaks that stand tall, defying gravity (and logic).
Either option blends seamlessly with the coffee’s chocolatey base, ensuring every sip feels like a dessert party.
Drizzle With Chocolate Syrup for Presentation
Want to make your coffee look fancy? Drizzling chocolate syrup transforms a basic drink into a café-style masterpiece, blending flavor and flair effortlessly.
- Pick your syrup: Use Hershey’s for convenient sweetness or homemade syrup (cocoa, sugar, water) for bold, adjustable richness. Thicker syrups stick better to glass walls!
- Master the drizzle: Swirl syrup inside a chilled, clean glass initially—slow, steady lines or zigzags work best. Pro tip: Let patterns set 10 minutes in the freezer before adding coffee.
- Layer creatively: Add ice, pour coffee, then drizzle again on whipped cream for 3D texture. Dark syrup on light foam looks striking, especially in clear glasses.
It’s edible art: balance fun designs with flavor, tweak sweetness, and tag @bitesbybianca for bragging rights.
Play, experiment, devour!
Frequently Asked Questions
Can I Substitute Dark Chocolate With Milk Chocolate?
Substituting dark with milk chocolate is feasible, though increased sweetness and reduced bitterness may occur. Adjusting sugar content and adding cocoa powder can balance flavor. Milk chocolate’s creamier texture alters mouthfeel but maintains drinkability.
How to Adjust Caffeine Content for a Lighter Version?
Lighter Arabica beans contrast with robusta’s caffeine; cold brew’s slow extraction versus quick steeping. Reduce grounds by half, swap in decaf, dilute with milk. Choices reflect balance—freedom in each pour, strength dictated by ratios and roast selection.
Is It Possible to Use Dairy-Free Whipped Cream?
Dairy-free whipped cream can substitute traditional versions, using coconut cream, aquafaba, or plant-based alternatives. It retains creaminess and pairs with coffee flavors, accommodating dietary preferences like vegan or lactose-free lifestyles without compromising texture or aesthetics.
Can I Skip Cocoa Powder Without Affecting Texture?
Like a river relying on silt to shape its current, cocoa powder anchors texture. Omitting it thins the drink, but substituting chocolate syrup or ice cream supplements thickness, preserving richness while granting flexibility to adjust flavors.
What’S a Quick Alternative to Melting Chocolate Manually?
A microwave offers a faster chocolate-melting alternative. Use 30-second bursts at regular power, stirring between intervals. This method avoids manual stirring over heat, minimizing effort while preventing overheating and ensuring smooth consistency for immediate use.

