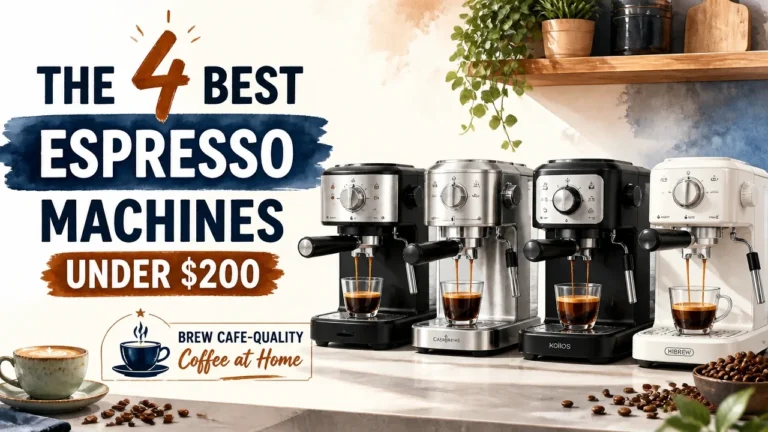

The best espresso machine under $200 is a real thing – but it comes with a condition most roundups quietly skip: the machine alone won’t save you. What separates a satisfying morning ritual from a $150 paperweight is the grinder you pair it with, the baskets you load it with, and the technique you’re willing to build.
That’s not a warning to scare you off. It’s the context that makes every pick on this list make sense. Once you understand the full system cost, you can make this budget work better than most people expect – and sidestep the three mistakes that generate half the buyer regret in this category.
Key Takeaways on the Best Espresso Machine Under $200
- The grinder, not the machine, determines shot quality – allocate 25–40% of your total budget there before choosing a machine.
- Advertised 15- and 20-bar pumps don’t improve espresso; unmanaged pressure above 9 bar causes channeling, not better extraction.
- Dual-wall pressurized baskets are a beginner crutch, not a quality feature – they forgive bad grind consistency by design.
- The used market (Breville Bambino, Gaggia Classic) delivers better hardware per dollar than anything new in this price range, with one condition: inspect before you buy.
- The Flair Neo Flex produces the highest straight-espresso ceiling on this list, but a milk drink takes 15–20 minutes – know that before you buy it.
- If you won’t buy a grinder or learn puck prep, a Moka pot or AeroPress will make better coffee for the same money than any espresso machine on this list.
How This List Was Built: The $200 Reality Check
Sub-$200 espresso is achievable, but the ceiling is conditional – and the condition isn’t the machine. It’s the total cost of ownership that surrounds it.
Most budget espresso roundups treat the machine price as the total budget. That framing produces a list of boxes ranked by star rating, which is a fine way to sell affiliate clicks and a poor way to help someone make good coffee. This list is built differently. Every pick is evaluated against four criteria: total cost of ownership, workflow time, durability, and use-case fit. Non-espresso brewers are excluded entirely – if you want a drip machine recommendation, this isn’t your article.
Budget Espresso Performance and Pressure Dynamics
Budget machines deliver roughly 70–80% of premium-machine performance, and the mechanism they use to get there is the pressurized, dual-wall basket. This is not a quality feature. It’s a technique crutch – a second filter wall that generates artificial back-pressure, manufacturing crema from pre-ground coffee regardless of grind consistency. The result looks right in the cup. Whether it tastes right depends almost entirely on the coffee you put in.
The bar-pressure marketing deserves a direct rebuttal. Espresso needs approximately 9 bar at the puck. Advertised 15-bar and 20-bar pumps do not make better coffee. Unmanaged pressure above that threshold is the direct mechanical cause of puck channeling – water finds the path of least resistance, erodes a channel through the puck, and the rest of the bed goes largely unextracted.
A peer-reviewed fluid dynamics study published in Physics of Fluids models the espresso puck as a poroelastic medium and finds that flow doesn’t rise linearly with pressure: it increases to roughly 4.5–5 bar, plateaus, and above 10 bar, pore collapse actually reduces flow – with 7–11 bar delivering nearly identical extraction. The study traces channeling to accelerated water velocity between grains dragging fines downstream, simultaneously compacting the puck and reducing porosity. That’s the physics behind the 9-bar target. A pump rated at 20 bar doesn’t fix this problem; it makes it worse.
Total Cost of Ownership and Ranking Criteria
Here’s the number that actually matters: $280–$350, not $150. That’s the realistic floor for a functional espresso setup – machine plus a burr grinder ($80–130), a tamper, a milk pitcher, and cleaning and descaler supplies. Pre-ground coffee cannot produce quality espresso at any machine price point. That’s not an opinion; it’s a grind-consistency argument, and the grinder is where it gets settled.
Clive Coffee – an espresso equipment retailer and education resource with years of hands-on technical support – makes this point bluntly: a less expensive machine paired with a better grinder will consistently outperform a premium machine fed a bad grinder or stale pre-ground. Their tech support line, they note, is dominated by calls that trace back to grinder quality and old coffee.
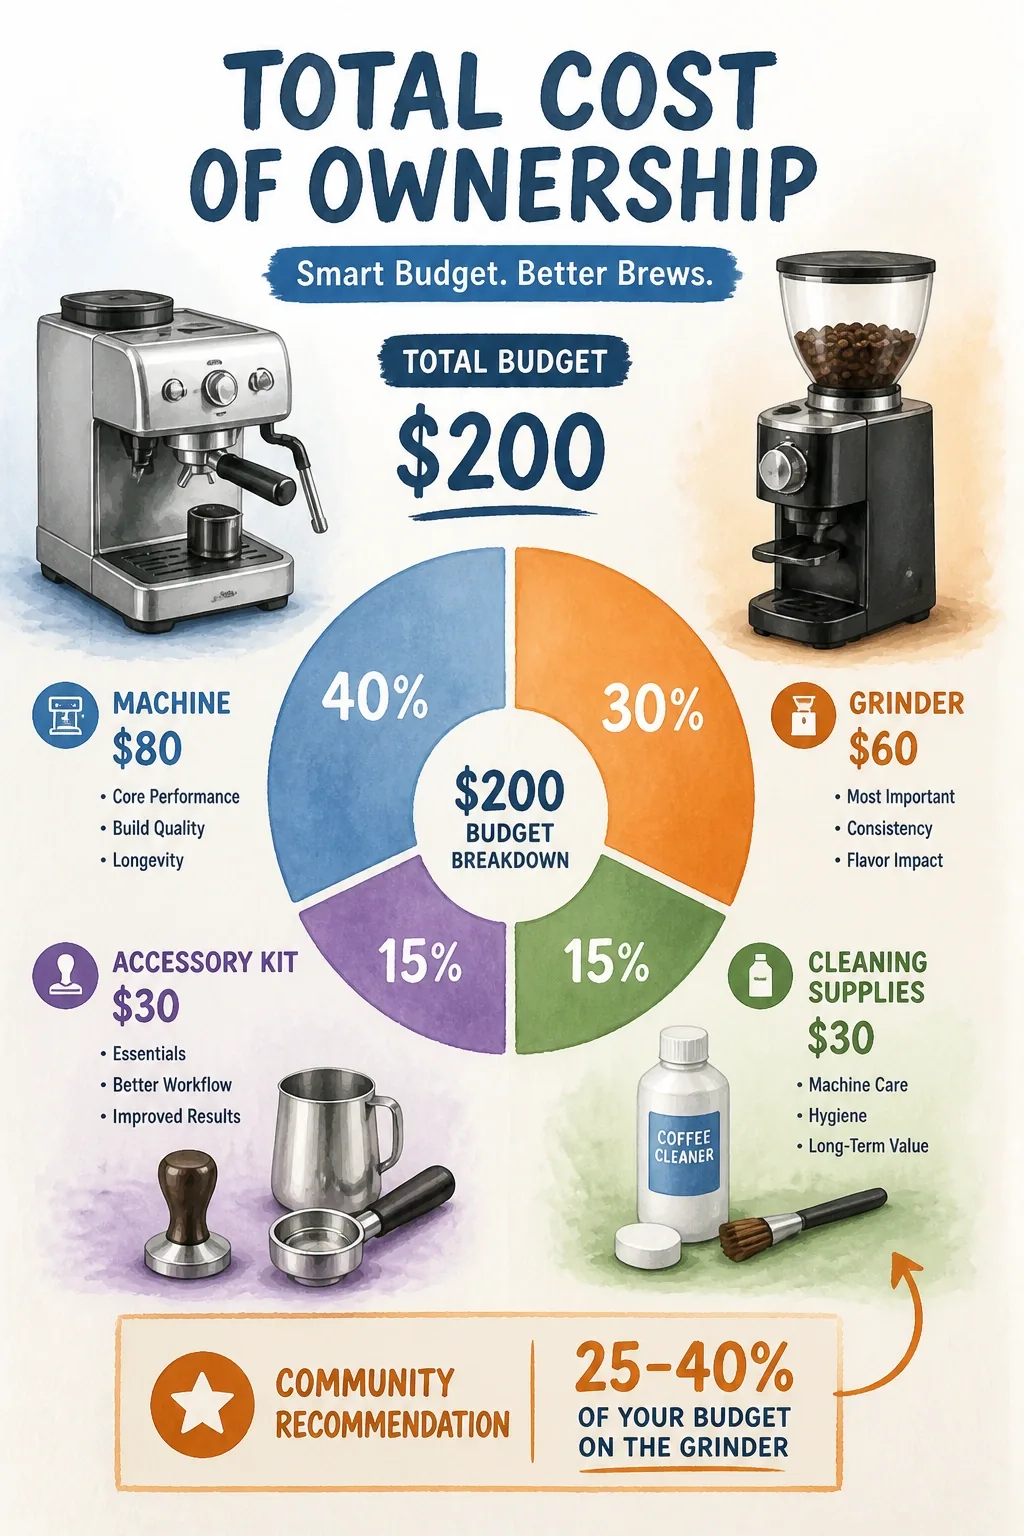
The practical implication is a specific budget split. Community consensus across espresso forums treats the grinder – not the machine – as the true ranking criterion, recommending 25–40% of the total budget toward it. A common and effective split keeps the machine to roughly $130–150 and puts the remainder into a hand grinder. The community-validated options worth searching for: Timemore C3, Kingrinder K4/K6, and 1Zpresso JX Pro.
There’s also a $30-class toolkit that meaningfully upgrades shot quality on any 51mm machine: a bottomless portafilter, a precision 51mm tamper, a WDT needle tool, and a puck screen. The bottomless portafilter earns its place twice over – it improves extraction and it’s a diagnostic instrument. Channeling shows up instantly as a split or spraying stream instead of hiding behind a spouted basket.
Expect 20–50 uneven shots before your technique stabilizes. That’s not a pessimistic estimate; it’s the actual learning curve, and knowing it in advance means you won’t throw the machine away after week two.
Finally, on why this article uses criteria instead of star ratings: across the roundups we audited, “best overall” and “best shots” labels rest on no stated methodology, no comparative testing, and no agreed definition of espresso quality. A score is not a verdict. A use-case match is.
This infographic breaks down where the money actually goes in a sub-$200 espresso setup – and why the grinder line item is the one you shouldn’t cut.
Pick #1: De’Longhi Stilosa – The Proven Sub-$200 Workhorse
The De’Longhi Stilosa is the safe answer – not because it’s flawless, but because its failure modes are predictable and its workarounds are well-documented. For a first machine, predictable beats impressive.
While manual entry points like the Stilosa define the budget learning curve, capsule convenience offers an entirely different route, best explored through delonghi nespresso machines expert picks.
Hardware Profile and Basket Architecture
The Stilosa lists at $149.95 and regularly discounts under $100, which puts it in a category where the value math is hard to argue with. The boiler is stainless steel, the footprint is genuinely compact, and the chassis is lightweight – usefully so for a small kitchen, less so when you’re locking in the portafilter one-handed on a machine that wants to slide across the counter. The suction-cup feet help, but they’re not a substitute for a heavier chassis. Expect to steady the machine with your free hand until the motion becomes automatic.
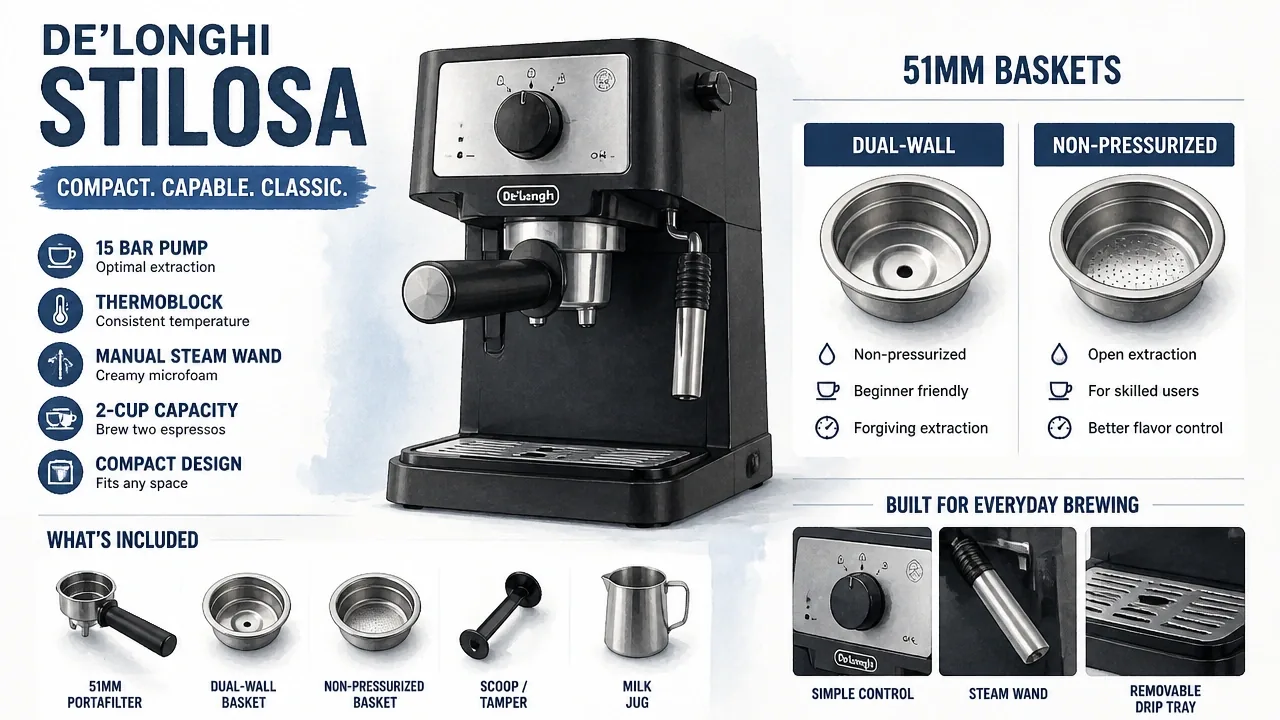
It ships with dual-wall pressurized baskets plus ESE pod compatibility, which means it forgives pre-ground coffee and imprecise tamping out of the box. That’s the right call for a beginner. The moment you fit a non-pressurized 51mm basket – which the machine fully supports – the dynamic shifts completely. The pressurized crutch disappears, your grinder’s consistency becomes audible in every shot, and the machine starts performing more like a real espresso tool than a forgiving starter kit.
Here’s a closer look at the Stilosa’s basket configuration – pressurized on the left for everyday convenience, non-pressurized on the right for when you’re ready to dial in properly.
Operating Constraints and Alternative Models
The steam wand is a panarello-style sleeve on a small single boiler – adequate for one milk drink at a time, not designed for speed or volume. Getting actual microfoam instead of dry, airy foam requires removing the panarello sleeve and steaming with the bare tip. It’s a two-minute modification, but it matters if you care about latte art or velvety texture rather than just hot milk.
Temperature surfing on the Stilosa is non-negotiable. The crude thermostat deadband will not hold extraction temperature on its own, so the protocol is: run a blank warming shot or a water purge to heat the group head, wait for the thermostat to click off, then pull immediately. Repeat this cadence for every shot. Skip it and you’re pulling into an underheated group, which tastes sour regardless of grind quality.
One editorial note worth flagging: the “best overall” crown this machine wears across several blog roundups sits on scores of 8/10 – lower than machines those same roundups rate higher but don’t crown. That’s editorial habit, not a test result. The Stilosa earns its place on reliability and community support, not on outperforming everything in the category.
The sibling worth knowing: the De’Longhi Dedica heats up noticeably faster and shares the same compact footprint and forgiving pressurized baskets. Its steam wand, however, gets consistent criticism from owners for producing dry foam. Choose the Dedica if heat-up speed matters more to you than manual wand control; stick with the Stilosa if you’re willing to learn the temperature protocol and want a wand you can actually work with.
This video walks through exactly when to pull your Stilosa shot – the thermostat timing that most new owners get wrong and why it changes the taste of every cup.
Affiliate Disclosure
This post contains affiliate links, meaning I may earn a commission if you make a purchase through these links, at no additional cost to you. As an Amazon Associate, I earn from qualifying purchases. I only recommend products I genuinely believe will add value.
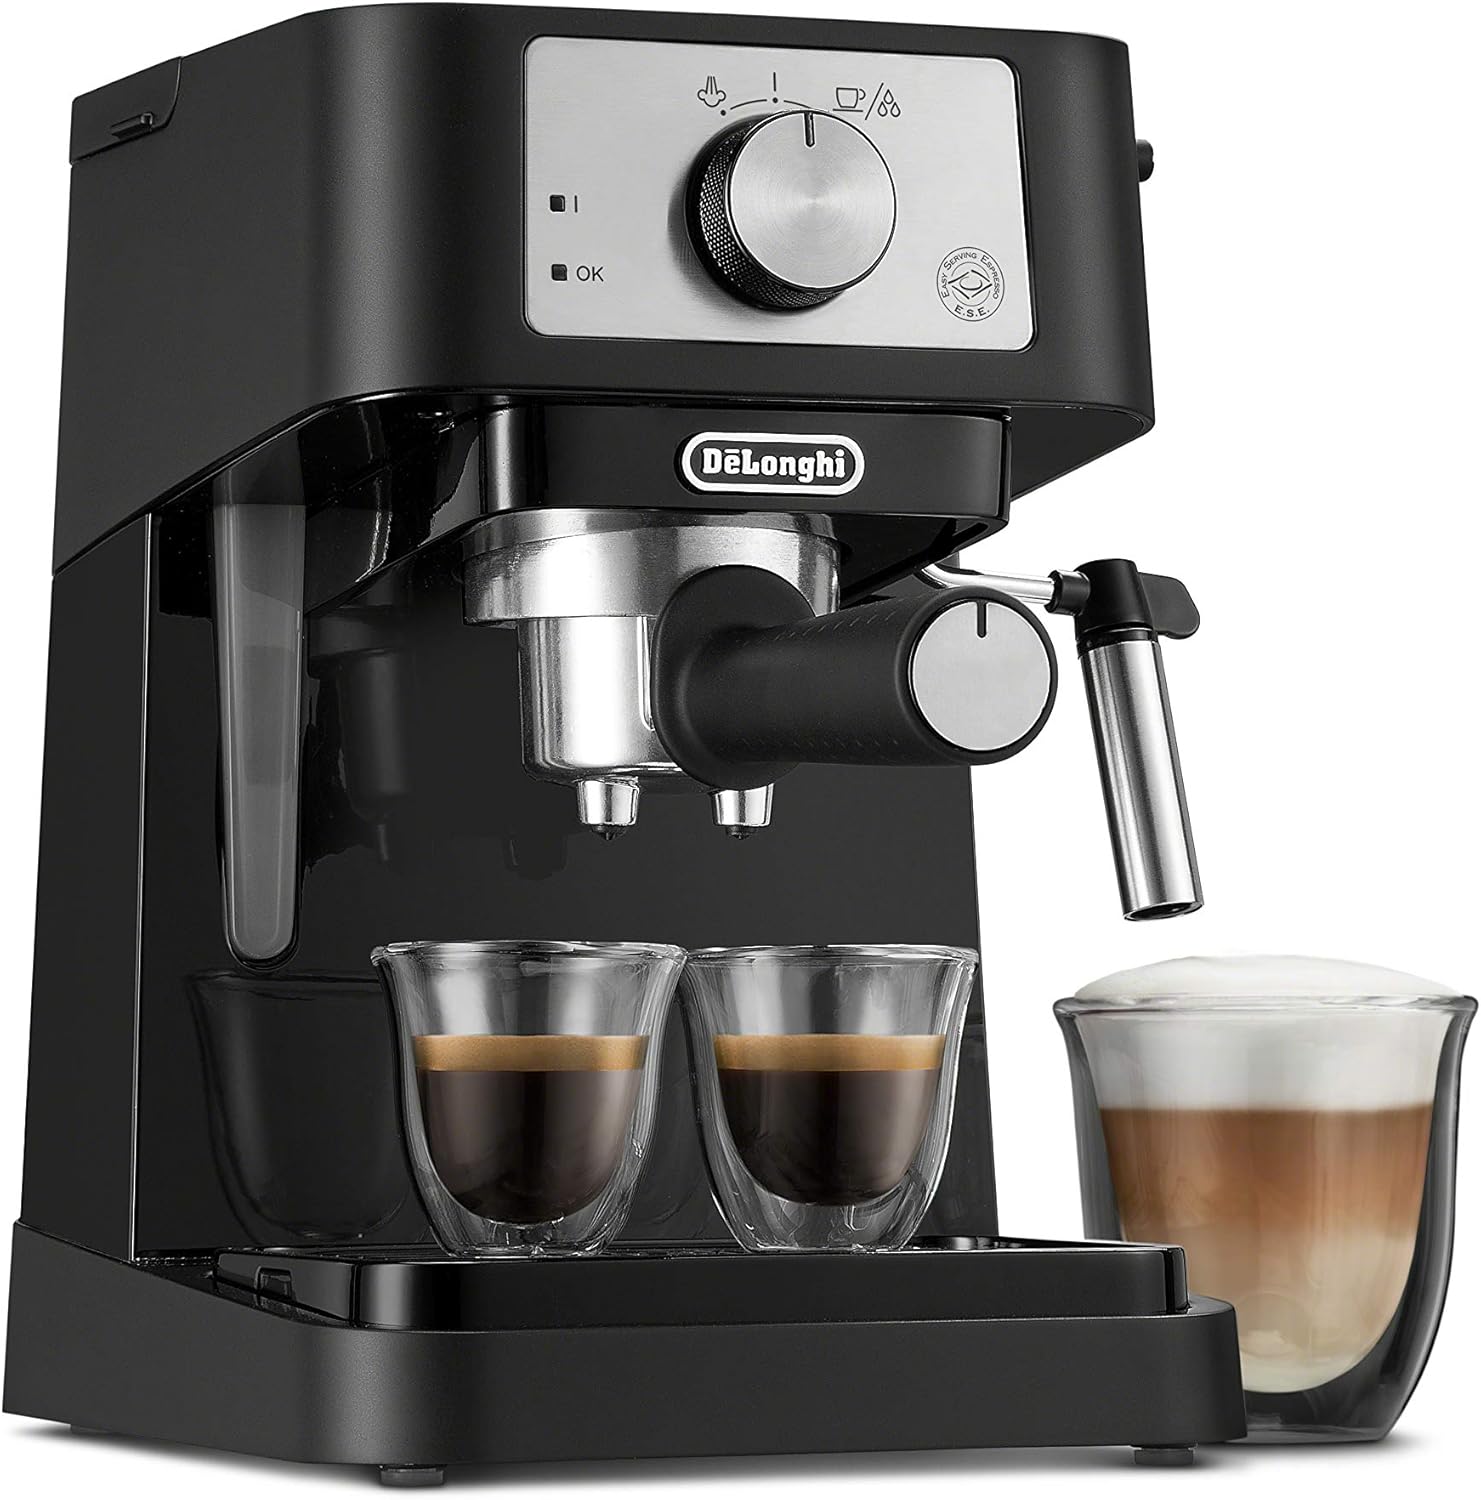
De'Longhi Stilosa Compact Manual Espresso Machine, Manual Milk Frother
- Please refer to user guide or user manual or user guide (provided below in PDF) before first use
- Includes Portafilter, measuring scoop/tamper and two filters for single or double espresso
- Stainless steel boiler is engineered to last long and work for years
- Manual steam wand to texture milk for lattes and cappuccinos
Pick #2: Casabrews CM5418 & 3700 Essential – The Gauge-Backed Budget Challenger
The Stilosa’s biggest blind spot is feedback – you can’t see what’s happening inside the puck. The Casabrews lineup fixes that with a built-in pressure gauge, which converts extraction guesswork into a readable dial. That’s a genuinely useful addition at this price. The trade-off shows up later, around the one-year mark.
Model Differentiation and Dial-In Feedback
Two models, two distinct use cases. The CM5418 brings stainless steel housing, a compact footprint, and the built-in pressure gauge that makes it the more capable machine. The 3700 Essential is the value variant – it keeps the machine line item lower so the grinder budget survives intact, which is a legitimate priority given everything discussed above.
The gauge is the reason to consider this category at all. Here’s how to read it: a choked reading – needle climbing above 10–12 bar and flow slowing to a drip – means your grind is too fine, your dose too heavy, or your tamp too hard. Back one variable off at a time. A gushing reading – needle sitting below 6 bar with the shot running thin and fast – means grind is too coarse, dose too light, or tamp too loose. Tighten one variable at a time. The gauge doesn’t tell you which variable to adjust, but it tells you which direction you’re off – and that feedback loop is exactly what the Stilosa lacks.
Recovery Limits and Durability Signals
The single boiler constraint matters most when you’re making milk drinks. Pulling a shot and then steaming milk requires the boiler to switch thermal states – a sequence that takes longer than most marketing materials suggest. Realistically, plan on several pulls before landing two usable back-to-back shots once the boiler is fully heat-soaked. Sequence your morning accordingly: steam milk first if you’re making a latte, then pull the shot while the boiler recovers.
On durability, owner reports tell a different story than the spec sheet. A steamer leak appearing around the one-year mark is a recurring theme in ownership threads, and the machine’s sensitivity to scale buildup is higher than its marketing implies. A descaling routine isn’t optional here – it’s the maintenance task that determines whether the machine lasts 18 months or three years.
The gap between blog recommendations and community experience is worth naming directly. Roundups recommend Casabrews enthusiastically; owner threads report mixed durability and the specific recovery limitations described above. Buy it with eyes open and a descaling schedule already planned. It’s a strong first machine – particularly because the gauge accelerates your learning – but it’s not a forever machine, and pricing it as one will disappoint you.
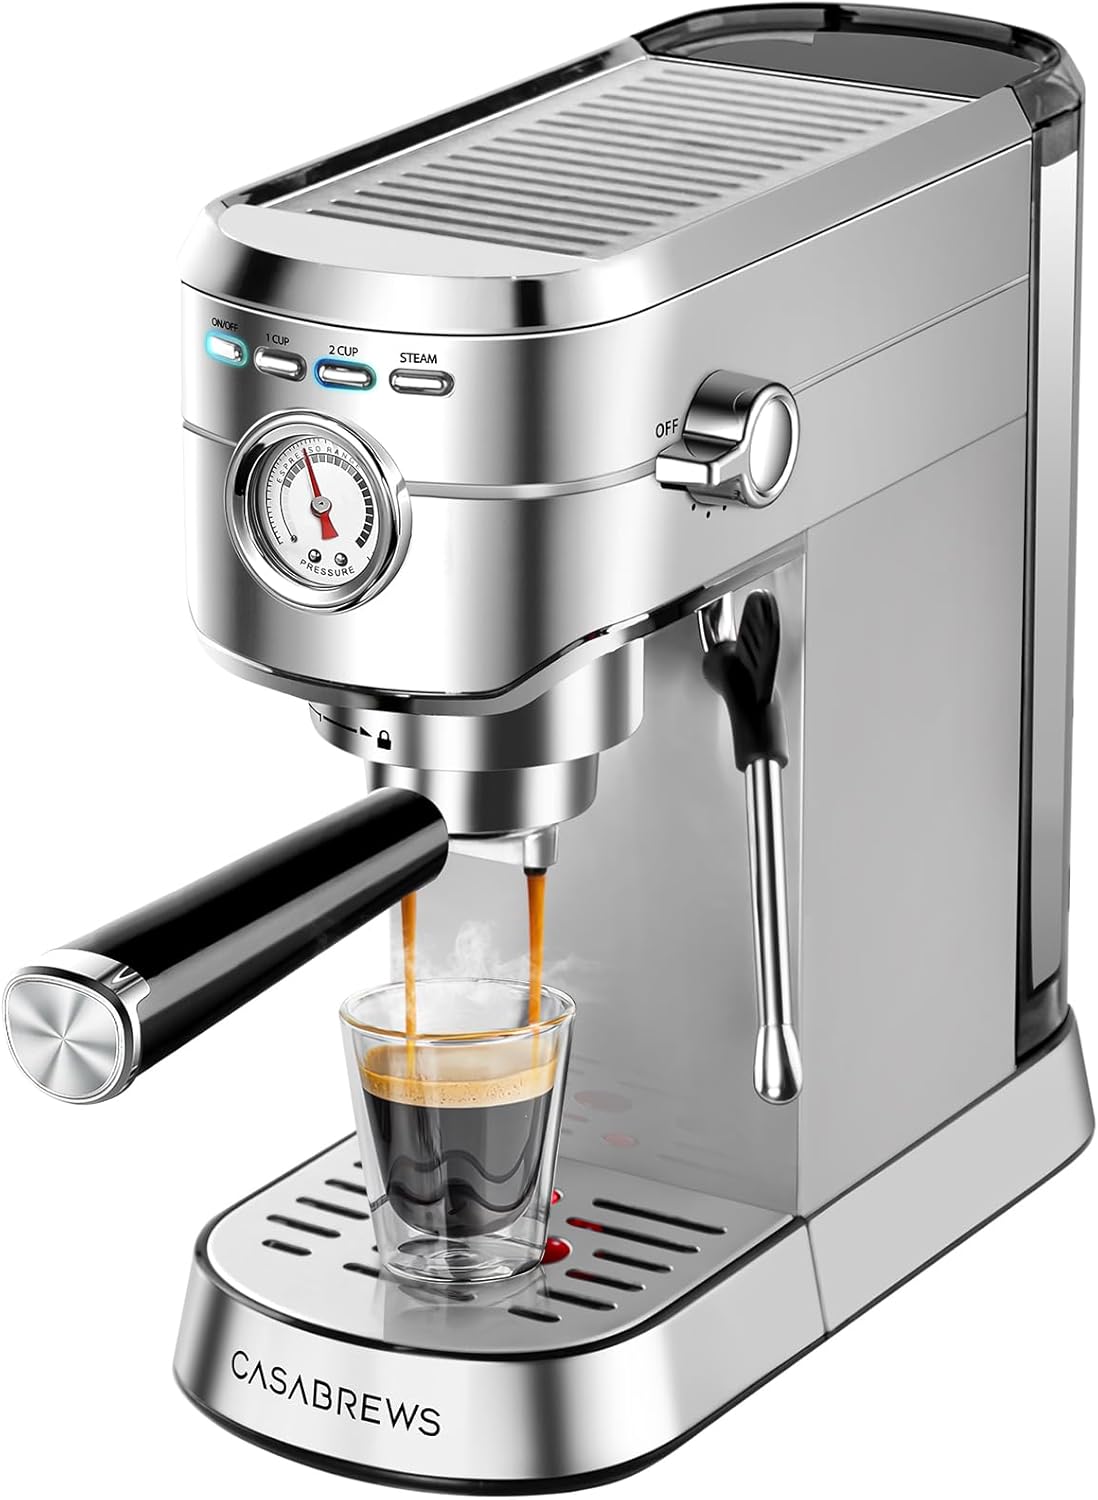
CASABREWS CM5418 Compact Espresso Machine with Milk Frothing Steam Wand
- Make Your Favorite Espresso Coffee At Home: The CASABREWS coffee machine with milk frother allows you to prepa…
- Professional 20 Bar Pressure System: Semi-Automatic 2-in-1 Espresso Maker, with 20 bar professional Italian pu…
- Milk Frothing System: Our espresso machine with milk frother has a powerful steam wand, so you can texture cre…
- Compact, Stylish & Practical: The beautiful and compact design makes this small espresso machine suitable for …
- Useful Tips: Please kindly note that do not brew coffee immediately after frothing milk. The machine must cool…

CASABREWS 3700 Essential Stainless Steel Espresso Machine with Steam Wand
- Make Your Favorite Espresso Coffee At Home: The CASABREWS coffee machine with milk frother allows you to prepa…
- Professional 20-Bar Pressure System: A semi-Automatic 2-in-1 Espresso Maker with a 20 bar professional pump an…
- Milk Frothing System: Our espresso machine with milk frother has a powerful steam wand that creates a creamy a…
- Compact, Stylish & Practical: The compact design makes this espresso coffee machine suitable for a kitchen of …
- Using Tips: Please remove the rubber plug at the bottom of the water tank and make “First use cycle” for this …
Pick #3: The Used Market (Breville Bambino / Gaggia Classic) – The Hidden Gem
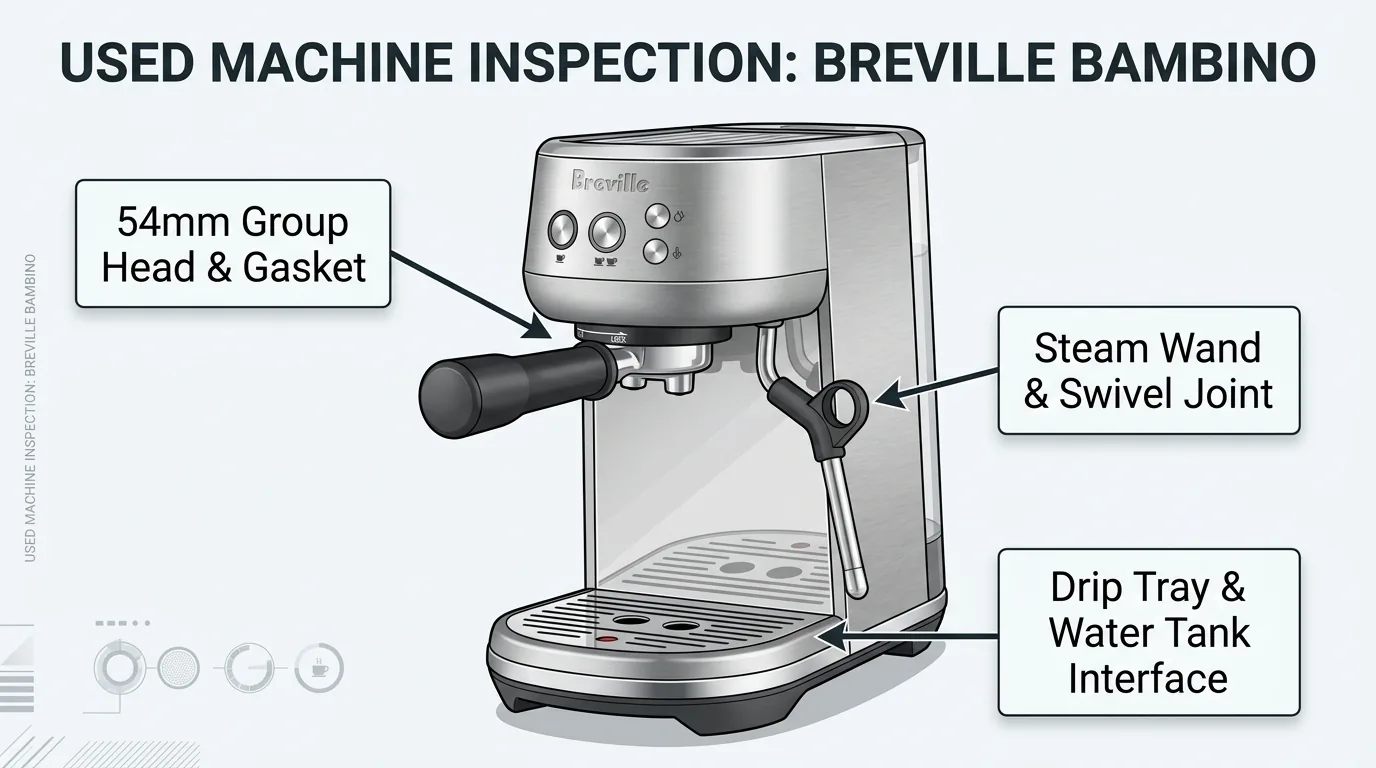
The strongest sub-$200 hardware isn’t new. It’s last year’s premium machine, bought secondhand from someone who upgraded.
The tier jump is real: the same $150–200 that buys a sealed budget chassis new will buy a Breville Bambino, a Gaggia Classic, or comparable hardware on the used market – machines that ship with real non-pressurized baskets, better over-pressure valve control, and a standard 54mm or 58mm accessory ecosystem that you can upgrade and maintain for years. When a proprietary valve fails on a budget machine, the machine goes in the bin. When a group gasket wears out on a Gaggia Classic, you order a $4 part and replace it in 20 minutes.
Patient hunting surfaces real deals: a used Breville Bambino Plus around $125, a standard Bambino around €170, and – for the genuinely adventurous – a La Pavoni CFS for roughly £30 plus about £20 in service parts. These aren’t unicorns; they appear regularly on eBay, Facebook Marketplace, and local classified listings.
The inspection protocol is what separates a bargain from a money pit. Before money changes hands, demand a live test under pressure – not a cold demonstration. Look for scale deposits on the group head and portafilter basket, listen for unusual pump noise, and check every fitting for moisture. Ask directly for service history. Two inspection points matter more than anything else: the OPV spring (a fatigued or incorrectly set spring means unmanaged pressure, which is the channeling problem all over again) and documented descaling or service. Leaks, visible scale, and any sign of faulty wiring are walk-away conditions, not negotiating chips.
Price in a descale or professional service before your first use regardless of what the seller claims. Budget $20–40 for that. The long-term economics still win: 58mm baskets, a full parts supply, and a machine that the community has been servicing and documenting for decades.
This path is for the upgrade hunter – someone willing to inspect, negotiate, and possibly rebuild. It is not a shortcut for someone who wants to unbox and brew on a Tuesday morning.
Scouting the used market for a pre-owned Bambino is a smart pivot, though those skipping the hunt often lean directly toward the best breville espresso machines for out-of-the-box reliability.

Breville BES450BSS Bambino Espresso Machine, Brushed Stainless Steel
- MICROFOAM MILK TEXTURING: Cappuccino maker and latte machine has an automatic steam wand allowing you to adjus…
- FASTER HEAT UP TIME: Espresso maker includes innovative ThermoJet heating system that achieves optimum extract…
- BALANCED-TASTING CUP: Manual espresso machine features low pressure pre infusion that gradually increases pres…
- RECEIVE 2 FREE BAGS OF SPECIALTY COFFEE: Included when you purchase and register any Breville coffee machine; …
- HOME ESPRESSO MACHINE WITH PRECISE EXTRACTION: Digital temperature regulation (PID) delivers water at precisel…
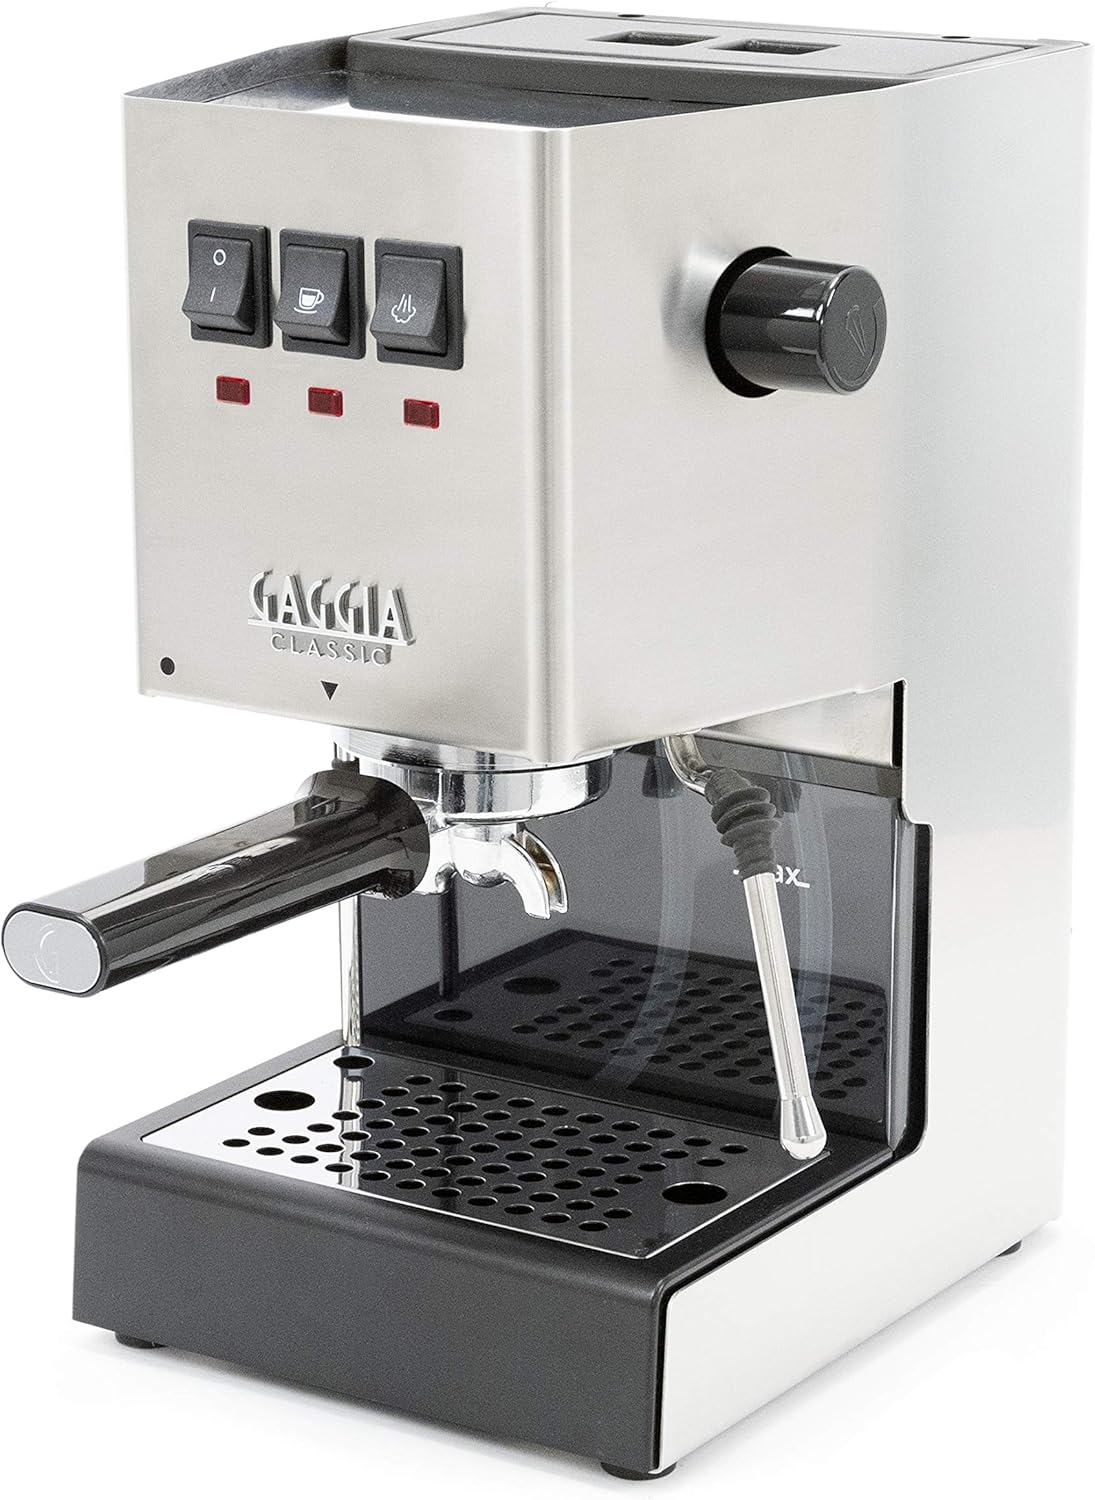
Gaggia RI9380/46 E24 Espresso Machine, Brushed Stainless Steel
- Solid Steel Housing, Made in Italy
- 9 Bar Espresso Extractions
- Stainless Steel 58mm Commercial Portafilter
- Commercial Three Way Solenoid Valve
- Commercial Steam Wand
Pick #4: Flair Neo Flex – The Best Shot and the Worst Workflow
The Flair Neo Flex produces the highest straight-espresso potential of anything on this list. It also requires the most from you, every single morning.
Manual Lever Category and Extraction Ceiling
At $99, the Flair Neo Flex is a manual lever – no pump, no boiler, no steam wand. You supply the pressure by pulling down on the lever. You supply the hot water from a kettle. The machine does nothing automatically, which is precisely why it can do something that automated budget machines cannot: manual pressure profiling. You control the ramp-up, the peak, and the taper of pressure across the extraction, which is the technique that specialty cafés use to coax different flavor characteristics from the same puck.
The ceiling for straight espresso quality on this machine is genuinely higher than on the Stilosa or the Casabrews. That’s not marketing language – it’s the mechanical consequence of having direct control over extraction pressure at every moment of the pull.
If the ritual is what appeals to you and you find yourself wanting more, the upgrade path is worth knowing before you spend $99: the Cafelat Robot and the Uniterra Nomad are where committed manual lever users tend to land. Both cost more, both perform at a level that competes with machines costing five times as much, and both reward the same skill set the Flair Neo Flex builds.
Operational Burden and Buyer Suitability
The tax is real and worth stating plainly: the Flair Neo Flex requires a kettle, a scale, a separate milk foamer, and a developed technique. A milk drink – espresso plus steamed milk – runs 15–20 minutes door to door, including heating water, pulling the shot, frothing milk separately, and cleanup between shots. That’s not a worst-case scenario. That’s a Tuesday.
Blog roundups crown manual levers “best performing” and “cheapest” without describing that workflow or the accessory list the machine silently requires. A spec-sheet verdict that collapses the moment a real morning happens is not a verdict – it’s a caption.
Who should buy it: a straight-shot purist who drinks espresso neat, a traveler who wants café-quality coffee away from the kitchen, or someone whose morning ritual is the point rather than an inconvenience. Who should not buy it: anyone whose morning includes steaming milk for two people, anyone who needs coffee before they’re fully awake, and anyone who hasn’t yet built a feel for puck prep and grind adjustment.
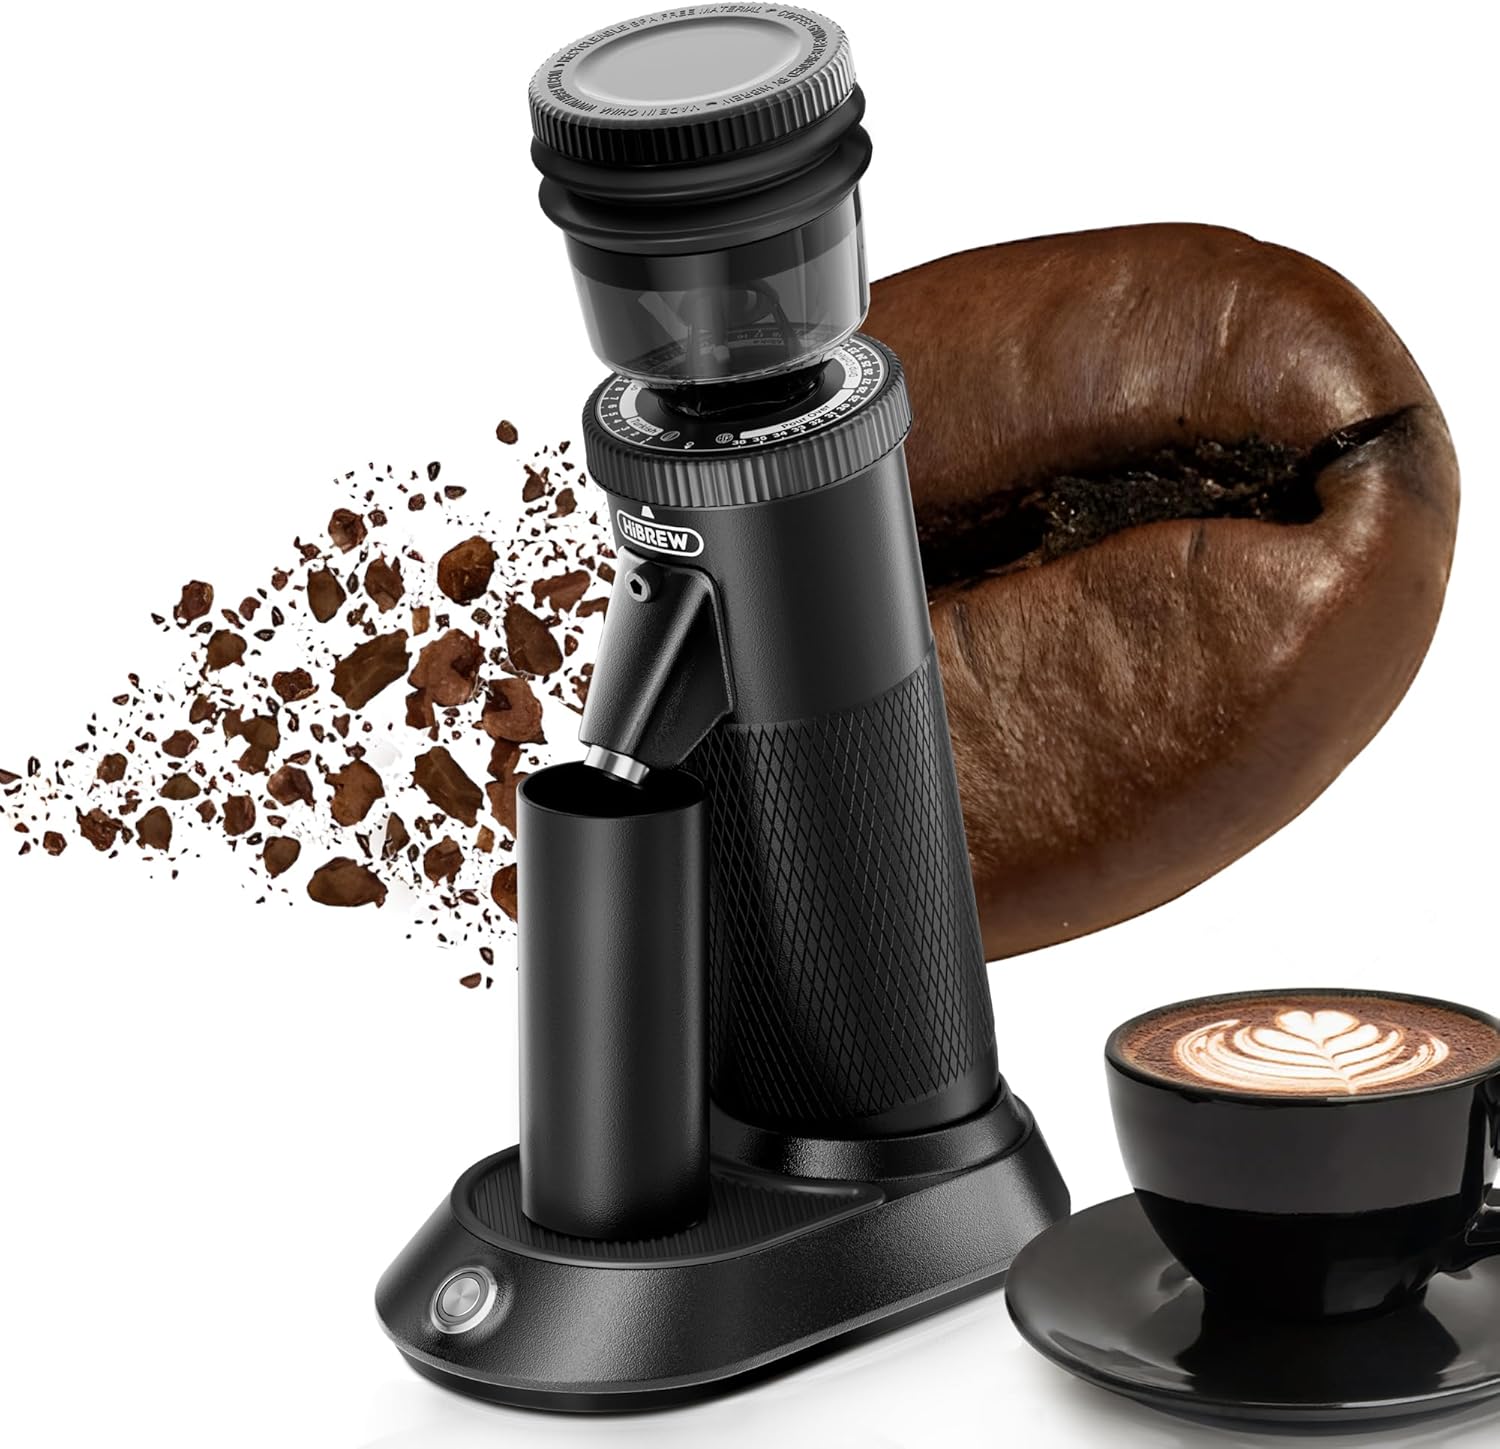
HiBREW G5 Electric Burr Coffee Grinder, Aluminum Body, Single Dose, Black
- Robust aluminum alloy: The electric coffee grinder has a robust aluminum alloy housing and a non-slip, texture…
- 36 Grind Settings: This coffee bean grinder uses a 48mm conical CNC grinding disk with high hardness, which of…
- Fast or slow grinding: This espresso grinder’ fast grinding speed is 500r/min, slow grinding speed is 400r/min…
- Powder discharger and anti-static: Our coffee grinder electric features a powder discharger and an anti-static…
- Compact and artistic design.Our HIBREW G5 burr coffee grinder compact housing reduces space requirements in th…
The Verdict: Which Machine Fits Your Kitchen
Every machine on this list is a legitimate answer to a specific question. The mistake is treating any of them as a universal answer.
Workflow Matching and Default Recommendation
Match by workflow, not by score:
- Milk-forward mornings (latte, cappuccino, flat white daily): the De’Longhi Stilosa or Casabrews CM5418 – both handle the steam-then-pull sequence, and the Casabrews gauge helps you improve faster.
- Straight-shot purist who wants the highest extraction ceiling for the money: Flair Neo Flex, with the accessory list budgeted in advance.
- Tiny countertop, minimal commitment: the Stilosa – its footprint is genuinely small and its workflow is forgiving.
- Cost-driven tinkerer willing to buy used and do some work: the used market tier (Bambino, Gaggia Classic) is the strongest hardware per dollar on the list.
- Total beginner who wants espresso and one milk drink a day: the De’Longhi Stilosa paired with a Timemore C3 or Kingrinder K4. The machine is forgiving, the grinder is capable, and the combination keeps total cost of ownership under $280 while leaving real room to improve.
One note on published ratings before you finalize anything: across the sources we reviewed, the same machine scores 9/10 in one summary and 9.5/10 in the body of the same article, and one “Top 10” roundup contains only seven entries. Buy on total cost and workflow fit. Treat star ratings as noise.
Exit Strategy and Budget Recap
If you will not buy a burr grinder or learn basic puck prep, an espresso machine – at any price – will produce worse coffee than alternatives built for your actual habits. That’s not a judgment; it’s a compatibility problem.
The honest alternatives: a Moka pot produces rich, concentrated coffee that isn’t technically espresso but is genuinely good if brewed correctly, and it costs under $30. An AeroPress lets your full $200 budget absorb a quality manual grinder instead of a machine, and the resulting cup rivals espresso in body and intensity. Both are legitimate choices for someone who wants great coffee without the learning curve.
The portable route exists too: the Picopresso (18g max dose, 18-bar rating) and the Nanopresso (0.74 lb) serve readers who want espresso away from the kitchen – travel, camping, office. Neither replaces a home machine, but both outperform the pre-ground hotel-room situation dramatically.
If zero learning curve is the actual requirement, a Nespresso Vertuo Plus (centrifusion extraction at 7,000 rpm) trades flexibility and ongoing per-cup cost for genuine consistency. It’s a pod machine, not an espresso machine in the traditional sense, but it’s a legitimate answer for the buyer whose real priority is reliability over craft.
The real budget, stated plainly: machine ($100–150) + burr grinder ($80–130) + accessory kit ($30) = $210–310 total. Plan against that number, not the machine sticker price, and you won’t be surprised.
Frequently Asked Questions About the Best Espresso Machine Under $200
Can a sub-$200 espresso machine actually make real espresso?
Yes, with conditions. Real espresso extraction is possible at this price, but it requires fresh beans, a burr grinder, and basic puck prep – the machine alone won’t deliver it.
Why does every roundup pick a different “best overall” machine?
Because most roundups don’t define their criteria. Without a stated methodology – total cost, workflow fit, durability – “best overall” is editorial habit dressed up as a verdict.
Is a hand grinder good enough for espresso, or do I need an electric one?
A quality hand grinder like the Timemore C3 or 1Zpresso JX Pro produces grind consistency that rivals electric grinders costing two to three times as much. For a sub-$200 machine budget, a hand grinder is often the smarter allocation.
What’s the actual risk of buying a used espresso machine?
The two real risks are hidden scale damage and a fatigued over-pressure valve. Both are detectable with a live test under pressure and a visual inspection – which is why you should never buy used without seeing it run.
How long does it realistically take to pull consistent shots as a beginner?
Expect 20–50 shots before your technique stabilizes. Grind adjustment, dose, and tamp all interact, and you can only isolate one variable at a time. A pressure gauge shortens this curve noticeably.
What does a pressure gauge on an espresso machine actually tell me?
It tells you whether your puck resistance is too high (choked, over 10–12 bar) or too low (gushing, under 6 bar) – which points you toward grind, dose, or tamp adjustments without guessing.
Is the Nespresso Vertuo Plus a legitimate alternative to a budget espresso machine?
Legitimately, yes – if consistency with zero technique is your actual priority. It’s not a traditional espresso machine, and the per-cup cost is higher long-term, but it delivers repeatable results without a learning curve.
What’s the minimum accessory kit I need to get usable shots from a budget machine?
A burr grinder, a proper tamper, and a milk pitcher if you’re making milk drinks. The $30 upgrade kit – bottomless portafilter, WDT tool, puck screen – is optional but meaningfully improves both shot quality and your ability to diagnose problems.
References
- Physics of Fluids Under pressure: poroelastic regulation of flow in espresso brewing | arxiv.org
- How to Choose an Espresso Machine | clivecoffee.com