For perfect Moka pot coffee, use medium-fine grounds (like table salt), preheat water to 70°C, and fill the base just below the valve. Level coffee gently—don’t tamp! Keep heat medium-low, brew until gentle gurgles start, then cool the base to stop bitterness. Stir the coffee once, and store beans airtight. Avoid soap when cleaning, check the gasket for leaks, and never rush. Brewing magic lies in details, and mastering them reveals deeper coffee secrets.
Choosing the Right Grind Size for Optimal Flavor

When brewing coffee in a moka pot, the grind size of the beans matters more than you might think—get it wrong, and your coffee could taste bitter, weak, or worse.
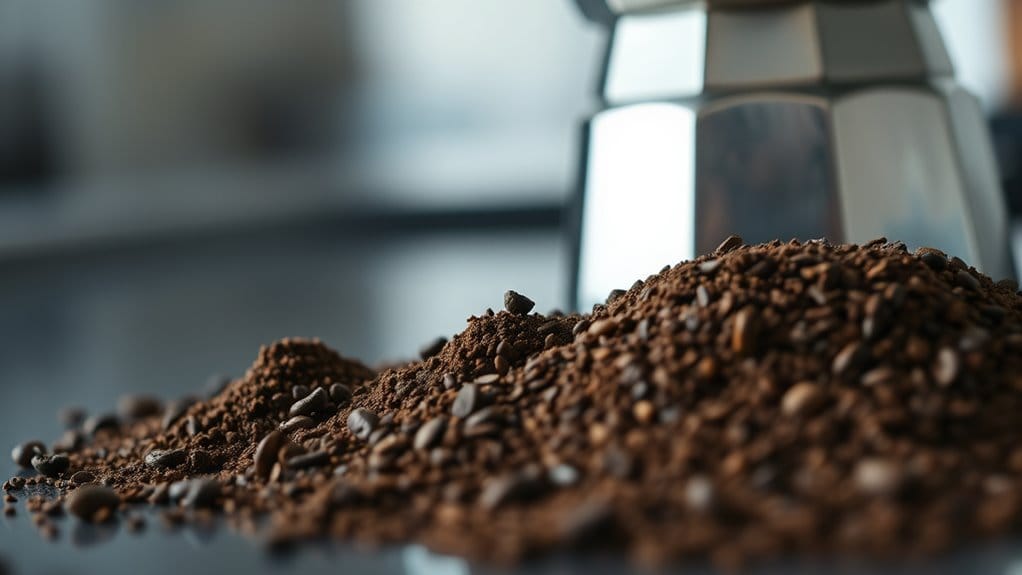
For moka espresso tips, aim for a medium-fine grind, coarser than espresso but finer than drip coffee, like table salt or granulated sugar. This texture guarantees the water flows smoothly, avoiding a muddy mess (no one wants a clog!) while pulling rich flavors from the beans. Always grind immediately before brewing to preserve flavor nuances and maximize freshness.
Use a burr grinder—not a bladed “chop and pray” device—to nail that ideal 360-660 micron range.
Moka pot tips to remember: too fine, and your brew turns bitter, too coarse, and it’s weak. Moka express tips? Experiment slightly coarser or finer to balance strength and smoothness, but stay in the “goldilocks zone” for magic.
Proper Water Measurement Techniques for Consistent Brews

Proper Water Measurement Techniques for Consistent Brews
The secret to great moka pot coffee doesn’t stop at grind size—water measurement steps into the spotlight next, acting like the unsung hero of every tasty cup.
Think of it like fueling a rocket: too little, and it sputters, too much, and it blows up. Water’s sneaky, but nailing these three tricks keeps brews balanced and bold.
1. Stick to the Fill Line, Not the Sky
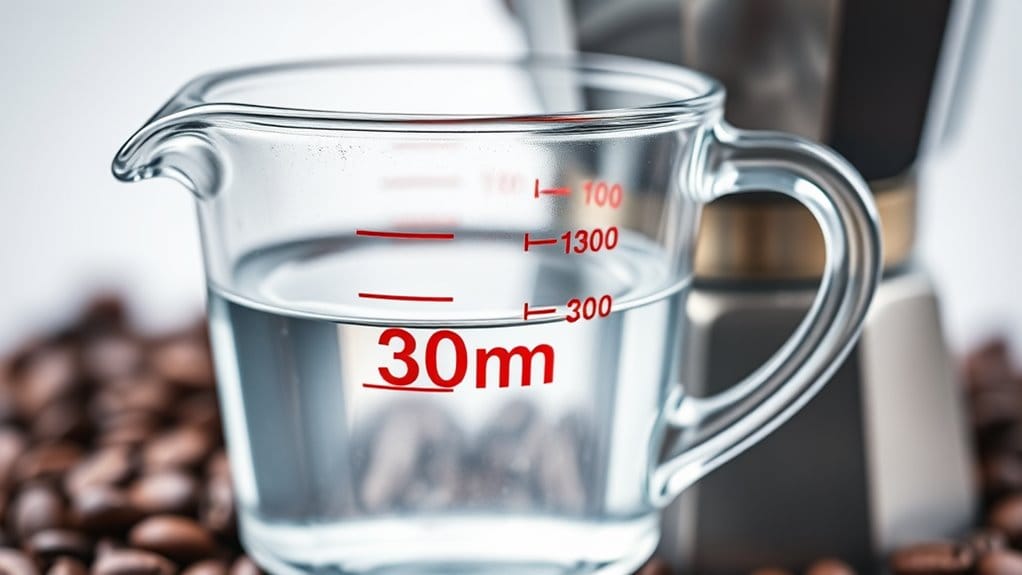
Fill the base chamber to just below the valve. This tiny ridge isn’t decoration—it’s your coffee guardian, blocking floods and bitterness. Scales work wonders, but eyeballing works if you’re free-spirited.
2. Scales Beat Guesswork
A kitchen scale crushes guesswork. Use a 1:10 ratio (coffee:water) for richness or 1:12 for a lighter kick. Math-haters, stay chill—just weigh once, then stick to the line.
3. Cold Pot = Clean Start
Hot pots lie about water volume. Fill it cold, pour slow, and keep that valve dry. Spills? Not on your watch. Using cold or room temperature water not only ensures accuracy but can amplify sweetness, harmonizing with the Moka Pot’s extraction dynamics for a brighter sip.
Mastering Heat Control to Avoid Bitterness

Heat plays the ultimate role in moka pot coffee’s flavor game—too much turns it bitter, like overcooked broccoli, but just enough releases smooth, rich magic. The Moka Pot operates at approximately 1.5 bars of pressure, allowing for an effective extraction of flavors.
Start with hot water in the base to speed things up, cutting time spent on heat. Using 14g of coffee, precisely leveled in the funnel without tamping, creates uniform resistance for balanced flavor extraction. A medium-low flame or electric setting keeps the pressure steady, so the water flows gently through the grounds without scorching them.
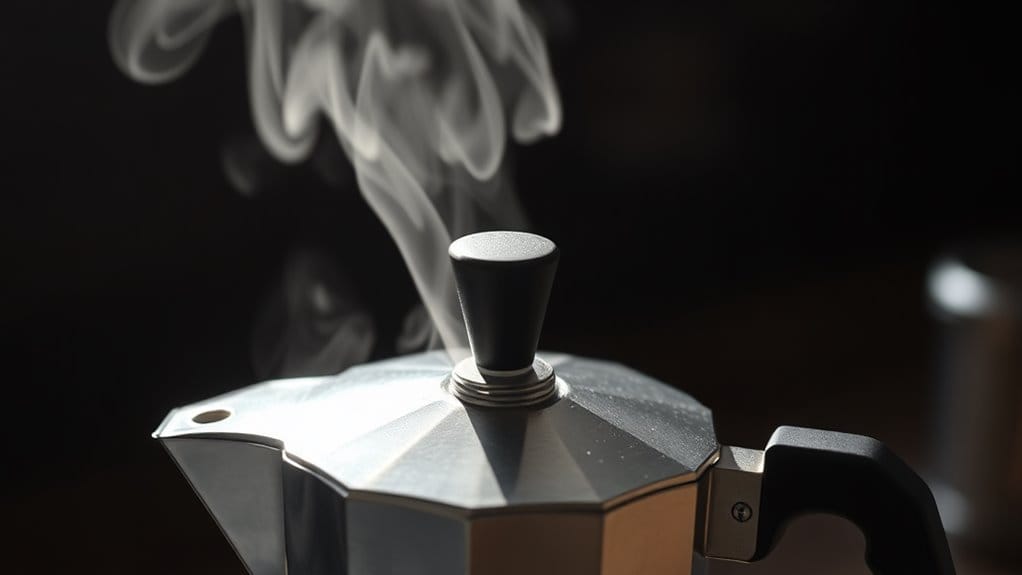
When coffee starts bubbling into the top chamber, listen for soft gurgles and watch the foam thicken—that’s the signal to kill the heat. Remove the pot immediately, and if you’re feeling extra, cool the base under tap water to halt brewing entirely.
A heat diffuser or adapter avoids hotspots, while avoiding tamping lets water flow freely. Stay sharp, and the reward is coffee that’s bold, not bite.
The Correct Way to Fill and Level Coffee Grounds
Properly filling the Moka pot’s filter basket requires heaping it with finely ground coffee, almost spilling over, then using a knife or finger to gently sweep across the top, leveling it flat—no squishing, mounding, or patting down!
This “loose but full” approach lets hot water flow evenly through every speck of coffee, pulling out rich flavors without trapping steam or making bitter sludge.
Forget espresso-style tamping; think soft fluff, not packed snow, because happy coffee needs room to breathe, not a chokehold.
Fill Filter Fully
Imagine a tiny mountain of coffee grounds sitting snug in the filter basket, ready to work their magic. Filling it fully, but not forcefully, is key to revealing bold flavors without bitterness.
Here’s the lowdown:
1. Pile it high, then level it flat
Fill the basket to the brim, like a little coffee hill, then sweep a knife or finger across the top to create a smooth, even layer—no pressing, just a gentle swipe.
2. Tap, don’t pack
Give the basket a light tap on the counter to settle loose grounds, filling gaps naturally. Avoid squishing them—they need breathing room for water to flow freely.
3. Check the edges
Wipe stray grounds off the basket’s rim. Even a single speck can break the seal, causing leaks or weak brews. Precision matters, but keep it chill—coffee’s a joy, not a chore!
Avoid Compacting Grounds
Creating a fluffy coffee bed in the Moka pot’s basket isn’t about muscle—it’s about finesse. Tamping or pressing the grounds creates a wall of resistance, trapping steam, slowing water flow, and brewing bitter, uneven coffee.
Instead, fill the basket fully but loosely—think featherlight touch. Scoop grounds, tap the basket sideways to let them settle naturally, then swipe a knife across the rim to level it flat, like smoothing sand in a zen garden.
Compacted grounds force water to detour around the edges, leaving weak coffee below and bitterness above. Use a medium-fine grind, between sugar and salt—too powdery clogs, too chunky under-extracts.
Trust gentle taps, not presses. The Moka pot’s magic needs room to dance, not a chokehold. No strong-arming your coffee, just smart, easy freedom.
Timing the Brew Cycle for Perfect Extraction
While the promising aroma of coffee starts to swirl from the Moka pot, timing becomes the secret ingredient for turning those grinds into liquid gold. Perfect extraction hinges on balancing heat, grind size, and sensory cues, creating coffee that’s bold, not bitter.
- Heat Control: Start on medium heat until coffee begins flowing, then drop to the lowest setting. High heat rushes the brew, scorching grounds, while gentle warmth coaxes flavors without chaos.
- Grind Size & Time: Aim for a grind like table salt but slightly coarser. If brewing drags past 2-3 minutes, go coarser. Smaller pots love finer grinds, bigger pots tolerate a bit more grit!
- Listen and Look: Gurgling noises mean “almost done” – pull the pot off heat when sputtering starts. Wait too long, and bitter gremlins invade your cup. Victory tastes like stopping *just* in time.
Essential Steps for Cleaning and Maintenance
Mastering the brew cycle’s timing sets up the next act—keeping the moka pot in top shape.
After use, cool the pot, disassemble it, rinse every part with warm water, and toss the grounds. Skip soap: it’s unnecessary and can leave weird flavors!
Dry everything with a towel, let it air-dry fully, and store it apart to dodge rust or mold.
Every month, deep clean: soak parts in vinegar-water to zap mineral buildup, scrub gently, rinse, then run a plain water brew to flush leftovers.
Check the rubber gasket often—replace it if cracked or stiff, since a bad seal means weak coffee.
Keep it dry, store it loose, and treat it right. A clean moka pot brews like a champ, sip after sip.
Preheating Water: When and Why It Matters
Preheating water kicks off brewing at the right temperature, like warming up before a race, to pull out coffee’s flavors without turning it bitter.
Starting with hot water means the pot spends less time on the stove, avoiding the dreaded “burnt socks” taste, and gets brewing faster.
It’s the sweet spot between patience and speed: better coffee, fewer sour surprises.
Optimal Extraction Temperature
- Control the stove—medium-low heat after preheating water, so steam builds pressure gently, not violently.
- Start with hot water (boiled separately) to skip early overheating risks, like jumping into a warm bath instead of boiling alive.
- Stop at the gurgle—when bubbling starts, pull the pot off heat to prevent scorching those delicate coffee oils.
Steady temps mean balanced flavor: bright, sweet, rich, no bitter aftertaste.
Master this, and your mornings win. ☕
Faster Brew Initiation
While some coffee lovers pour cold water straight into their Moka pot, preheating it initially can be the secret to revealing smoother, faster brews, no bitter surprises.
Starting with hot water slashes brew time, cutting the risk of bitter, overcooked coffee. Cold water heats slowly, letting grounds “cook” unevenly, but preheated water zooms through, pulling rich flavors quickly.
Faster brew initiation stabilizes extraction, so steam doesn’t squirt or sputter, keeping pressure steady. Less stove time saves rubber seals from heat wear, and skipping the wait means more morning minutes for savoring.
Preheating also locks in aroma, avoids sourness, and turns chaotic brewing into a clockwork routine. Imagine the Moka pot singing, not screaming—coffee magic, minus the burnt-dinner vibes.
Here’s to freedom from gritted teeth, one hot start at a time.
Avoid Bitter Overheating
After speeding up the brewing process with preheated water, coffee makers face a new challenge: keeping bitter flavors out of the cup. Overheating coffee grounds strips away delicate oils, creating harsh, burnt notes that ruin the morning magic. Here’s how to avoid it:
- Control the heat: Start with water preheated to 70°C (158°F). This skips the slow, scorching warm-up phase, keeping temperatures steady, not chaotic.
- Timing is everything: Once coffee flows into the top chamber, kill the heat! Let residual pressure finish the job—no overcooked, acrid surprises.
- Guard the oils: Less heat exposure preserves those rich, velvety flavors. Think of it as sunscreen for your coffee, protecting it from getting roasted twice.
Bitter coffee? Not today. Balanced sips ahead.
Avoiding Common Mistakes With Moka Pot Assembly
What’s the secret to keeping a moka pot from leaking, sputtering, or giving you sad, watery coffee? Nail the assembly.
Start by filling the base with water just below the safety valve—nope, no peeking over! Then, load the funnel with fresh-ground coffee (medium-fine, like sand), level it gently, and never smash it down.
Fill the base to just under the valve, pack the funnel with medium-fine grounds, and level lightly—no tamping required.
Seal the deal by sliding the funnel in, checking the gasket’s snug, and screwing the top on tight—but not too tight; think “secure handshake,” not arm wrestle.
Clear stray grounds from the threads; they’re sneaky leak-makers. And inspect that safety valve like a coffee detective: blocked valves create drama.
Miss a step? The pot throws a hissy fit. Get it right, though, and it’s espresso-like bliss, no regrets.
Stirring and Mixing Methods for Balanced Taste
Stirring the coffee right after brewing, once the gurgling stops, blends the strong bottom layer with the lighter top for even flavor.
A slow, gentle mix with a spoon spreads the richness through every cup, avoiding bitter spots or weak sips.
This simple step transforms a decent brew into something special, where each sip feels balanced, satisfying, and just as tasty as the last.
Stir Post-Brewing
A well-poured moka pot brew sits ready, its dark aroma swirling upward. To lock in balance, stir swiftly but gently—timing and technique shape the final sip.
- Time it right: Stir immediately after brewing, the moment the coffee stops bubbling. This halts bitterness, blending oils and flavors evenly before they settle into bitter layers or sour patches.
- Cool it down: Run the pot’s base under cold water for 5 moments—like hitting pause on over-extraction—keeping the brew smooth, not scorched.
- Mix with care: Use a spoon to swirl the coffee in the top chamber 2-3 times, soft circles to unite flavors without whipping air into it. Think “stir, don’t slosh”—chaos isn’t a seasoning.
Stirring transforms splotchy liquid into harmony, turning a good brew into *your* brew.
Uniform Flavor Mix
Three core elements work together to turn moka pot coffee into a delicious, balanced experience: grind size, temperature control, and mixing magic. Uniform flavor begins before brewing—coffee grounds must be medium-fine, like sand, ensuring even water flow. Level the grounds in the basket, but don’t press down, or water will sneak through gaps, creating bitter spots. Additionally, the pour over method can also achieve a unique flavor profile that complements moka pot brewing.
To avoid “channeling” (water taking shortcuts), some use the “surfing” trick: lift the pot briefly mid-brew to slow overheating, letting water soak every coffee particle evenly. The gurgling sound should be steady, not sputtering—like a calm waterfall, not a geyser.
Stirring after brewing blends any stronger initial-pour coffee with lighter later notes, but perfect prep means less mixing is needed. A level coffee bed and calm heat make every sip sing—no sour highs or muddy lows. Additionally, applying immersion brewing techniques can further enhance the overall flavor profile of your moka pot coffee.
Break the rules? Sure, but this way, rebellion tastes delicious.
Storing Coffee Beans to Maintain Freshness
Nothing zaps coffee’s magic faster than poor storage—those vibrant flavors and cozy aromas vanish like a popped balloon! To keep beans fresh and fierce, focus on three rules:
Guard your coffee’s vibe: airtight storage, cool darkness, and timely sipping conquer staleness for vibrant brews.
- Lock in freshness. Use airtight containers, not flimsy bags, to block air, moisture, and funky fridge smells. Think of it as a VIP lounge for your beans! High-quality beans deserve the best treatment to maintain their exceptional flavor profiles.
- Hide from light and heat. Store beans in cool, dark spots—like a pantry, not next to the (*spicy*) stove. Light and heat turn beans into sad, flavorless pebbles.
- Buy small, use quickly. Grab what you’ll drink in 1–2 weeks, whole beans over pre-ground. Ground coffee? It’s like confetti—fun for an instant, then *poof*, bland confetti.
Remember, following these guidelines can preserve the optimal flavor integrity of your beans and create a more enjoyable brewing experience. Freedom-loving tip: If your beans smell like yesterday’s socks, it’s time to rebel—get fresh ones!
Frequently Asked Questions
Can I Use My Moka Pot on an Induction Stove?
Aluminum moka pots require induction adapters due to non-magnetic properties; stainless steel models function directly. Verifying base magnetism confirms compatibility. Hybrid designs with magnetic bases or adapter plates enable flexibility across stove types.
Why Does Coffee Sometimes Seep Out the Sides During Brewing?
The devil’s often in the details when coffee escapes mid-brew; a faulty seal, overfilled reservoir, overly-tamped grounds, or loose assembly disrupt pressure. Regular maintenance and precise assembly keep leaks at bay, ensuring brewing liberation.
Is a Stainless Steel Moka Pot Better Than Aluminum?
Stainless steel Moka pots offer higher durability, induction compatibility, and easier cleaning, while aluminum provides quicker heating and lower cost. Preference depends on priorities: longevity versus speed and affordability in coffee brewing.
Can I Brew Tea or Other Beverages in a Moka Pot?
While necessity breeds invention, a moka pot can brew beverages beyond coffee—black tea withstands its pressure and heat, yielding bold flavors. Delicate teas fail under such intensity; adjustments refine outcomes, proving adaptability fuels kitchen creativity.
How to Adjust Brewing for High-Altitude Locations?
High altitude lowers boiling temperatures; use a finer coffee grind, increase dose slightly, and preheat water to compensate. Monitor brewing duration, reduce heat early, and maintain consistent tamping to balance extraction constraints.
References
- https://www.kimbocoffee.com/blogs/kimbo-blog/how-fine-to-grind-coffee-for-moka-pot
- https://octavecoffee.com/blogs/brew-guides/guide-to-moka-pot-brewing
- https://honestcoffeeguide.com/moka-pot-grind-size/
- https://bazancoffee.com/blogs/barista-tools/moka-pot-coffee-grind
- https://peakflavorcoffee.com/blogs/moka-pot/moka-pot-grind-size
- https://www.handsomewade.com/blog/2018/4/updated-moka-pot-brew-method
- https://www.javapresse.com/blogs/stovetop-brewing/ultimate-guide-moka-pot-coffee
- https://cafely.com/blogs/coffee-brew-guide/moka-pot
- https://www.home-barista.com/brewing/how-to-improve-your-moka-pot-coffee-t48638.html
- https://www.home-barista.com/brewing/secrets-moka-pot-how-to-video-t30707.html


