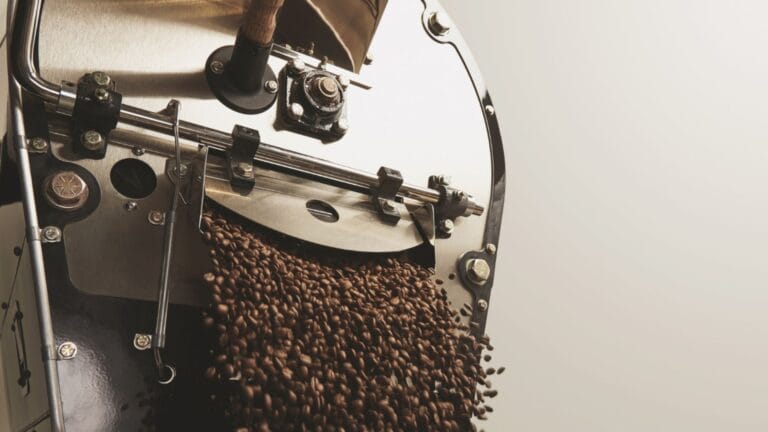
Why Roast Coffee Beans Yourself? Ever wondered what makes coffee production truly special? Roasting your own beans unlocks:
- Flavor control tailored to your taste buds
- 30-50% cost savings versus store-bought bags or you would like to become a coffee roaster.
- Avoid coffee industry pitfalls like stale beans, blends, or uneven roasts – crucial for high quality coffee results.
Your Optimal Learning Path:
- Master equipment → Core roasting process → Method selection
- Technique refinement → Troubleshooting → Safe experimentation
Defining Equipment, The Roaster & Green Coffee Beans
“Coffee Roaster” Definition – Machine vs. Artisan
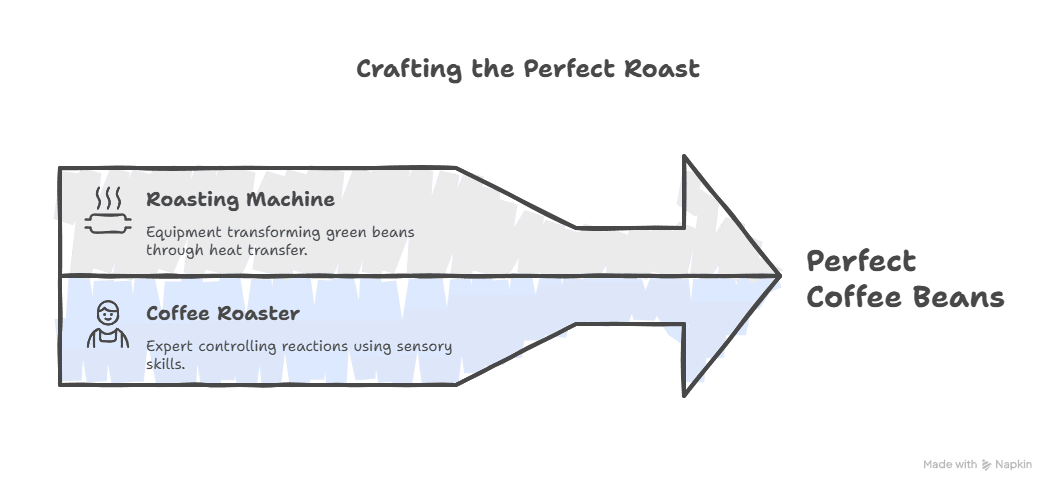
The term “coffee roaster” cleverly describes both equipment and expertise. At its core:
- Roasting Machine: Applies heat transfer to transform green coffee beans by Drum (direct contact), Hot-air (convection)
- Coffee Roaster (Person): Controls chemical reactions via sensory skill by adjusts heat/airflow using color, aroma, and “crack” sounds.
💡 Pro insight: Small-batch machines (1-5kg) let specialty coffee roasters experiment with bean variables like density and moisture.
Green Coffee Beans – The Raw Canvas
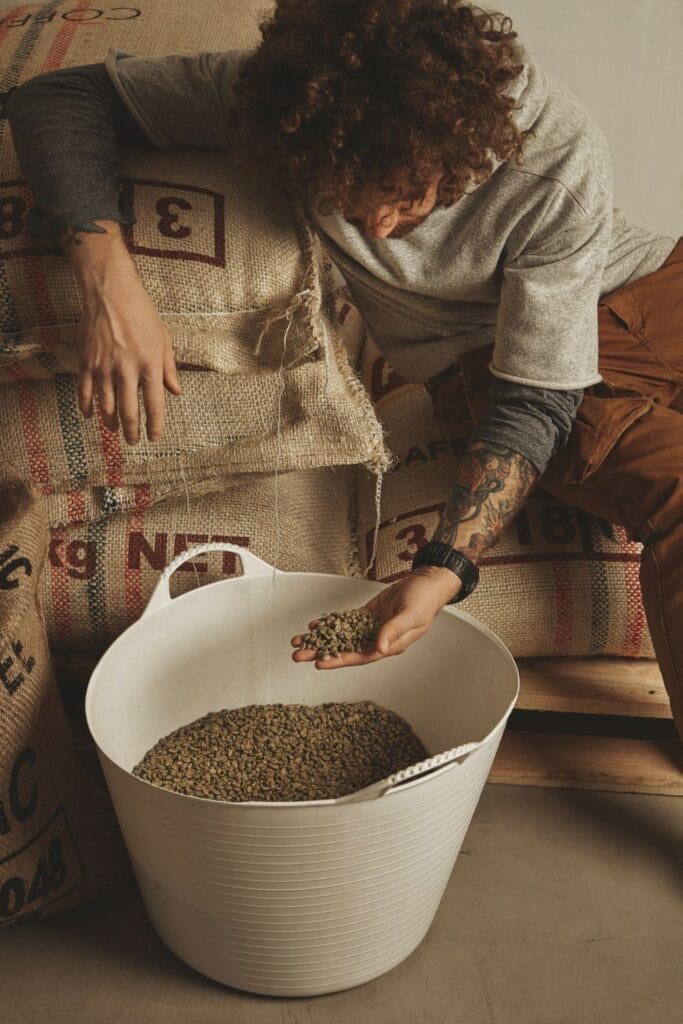
Green coffee beans are unroasted seeds of Coffea cherries – your foundational ingredient. Their unique traits dictate roasting approaches:
→ Ethiopia Yirgacheffe (floral/fruity) needs gentle heat to preserve notes
→ Brazilian Cerrado (nutty/chocolate) withstands higher thermal stress
- Moisture Content (8-12%):
→ High moisture = longer drying phase to avoid “baked” flavors
→ Low moisture = faster roast but scorching risk
- Density & Size:
→ Dense beans (e.g., high-altitude) require extended roasting
→ Irregular sizes cause uneven development – sorting is crucial
- Processing Method:
→ Washed beans: Clean acidity, predictable reactions
→ Natural/dry-processed: Sugar-driven development needs careful heat control
🌱 From experience: Storing beans in breathable jute bags at 20°C/60% RH maintains optimal freshness for 9-12 months.
Coffee Roasting Equipment Guide: Methods & Heat Sources
I. Classified by Roasting Method
Open Fire Roasting
- Characteristics: Beans are heated by direct flame contact using metal baskets.
- Best for: Traditional Arabica, small-scale operations.
Pan Roasting
- Characteristics: Manual stirring in cast-iron pans over heat sources.
- Best for: Home roasting (100–500g batches).
Drum Roasting
- Characteristics: Rotating drum + external heat (gas/electric/charcoal).
- Best for: Dense beans (Brazil, Sumatra)
Fluid Bed Roasting
- Characteristics: Hot air suspends beans for even heating.
- Best for: Light, acidic beans (Ethiopia, Kenya), light roasts.
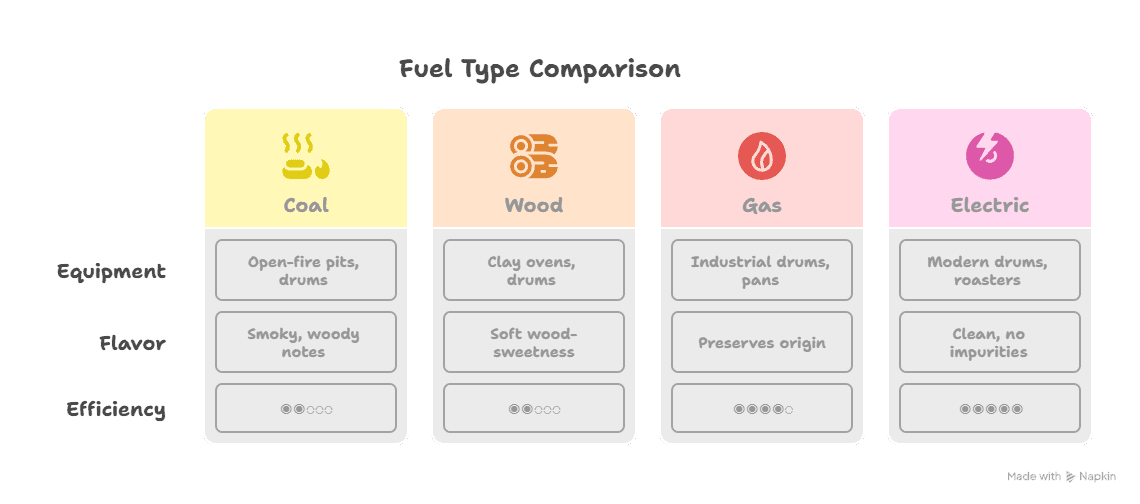
II. Classified by Heat Source
Fuel Type: coal, wood, gas, electric
The Standard 3-Stage Roasting Process
Drying Stage – The Foundation
In every coffee roasting process, this initial phase transforms green coffee beans from dense seeds to workable material. Beans start absorbing heat while shedding moisture:
- Temperature: 160-180°C
- Duration: 4-6 minutes
- Critical Signs:
- → Visual shift: Vibrant green → pale yellow → light tan
- → Aroma evolution: Grassy notes fade → toasted grain/bread crust emerges
💡 Pro insight: Uneven drying here causes baked flavors later. Rotate beans constantly at these high temperatures to prevent scorching.
Browning Stage – Flavor Alchemy
Here’s where the magic happens! The roasting process triggers two powerhouse reactions:
- Maillard Reaction: Amino acids + sugars create nutty/chocolate notes – imagine the scent of baking cookies.
- Caramelization then amplifies sweetness as sucrose breaks down. You’ll hear the iconic first crack (like popcorn pops) signaling completion.
📌 This reaction creates over 24 key flavor compounds (like pyrazines and furans) that shape coffee’s complex taste. All are highly sensitive to temperature control [Yu et al., 2021].
🌟 Fascinating fact: This stage demands precise heat control. Too fast? Bitter compounds dominate. Too slow? Flat, baked flavors emerge.
Development Stage – Artistry in Action
This final phase determines your specific roast profile. Temperatures soar to 195-230°C:
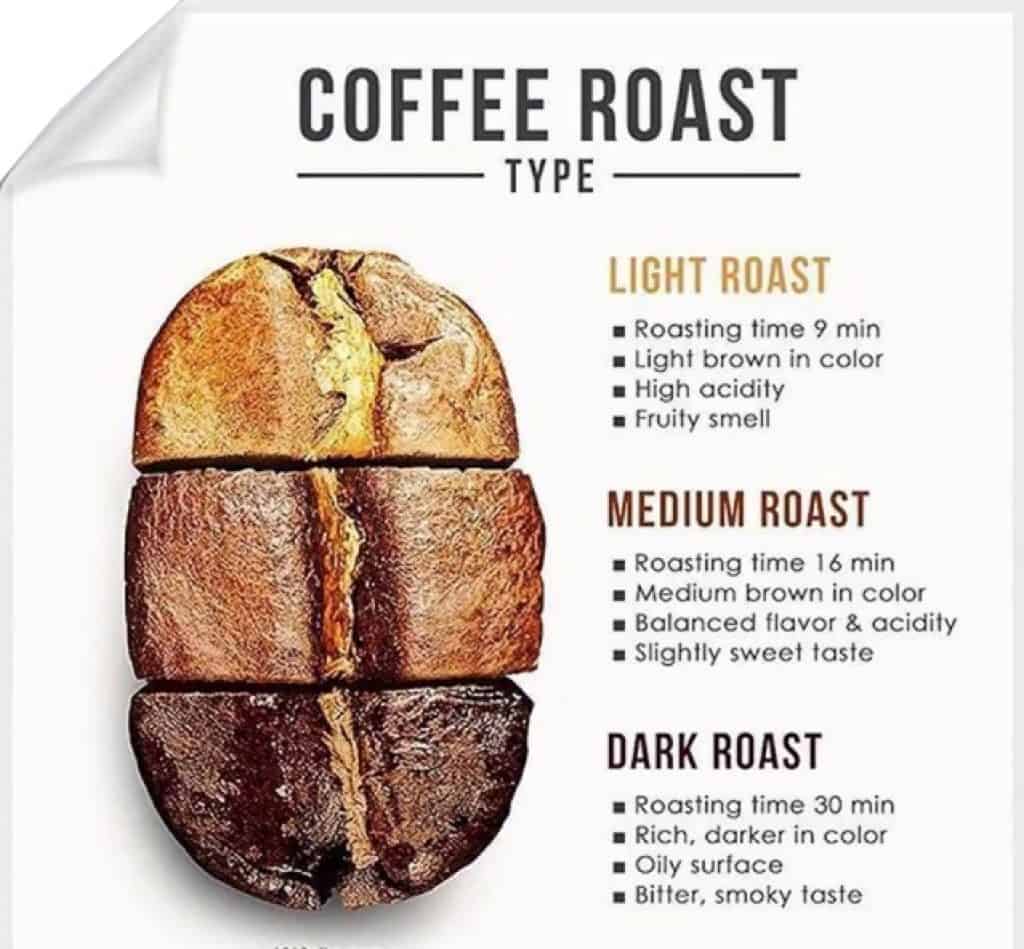
- Light Roast: Stop immediately after first crack (~205°C) for bright acidity
- Dark Roast: Continue to second crack (225-230°C) for smoky depth
Critical Control Points:
⚠️ Over-development risk: Beans turn oily → ashy bitterness dominates
✅ Ideal development: Light brown + Balanced acidity + body with origin characteristics intact
💡 From my roasting logs: Ethiopian beans shine at 205°C, while Sumatrans peak at 225°C. Track time-temperature curves religiously!
Coffee Roasting Methods: Drum vs. Hot-Air
Drum Roasting – Tradition Meets Intensity
When exploring coffee roasting methods, drum roasting is the classic approach. It uses heat transfer through direct contact (conduction) and radiant heat:
- Signature Flavor Profile:
- → Rich chocolate and caramel notes
- → Heavy body that coats your palate
- → Perfect for espresso blends needing depth
💡 You’ll notice: Rotary drums cause slight differences between beans. Darker roasts work best here because they hide these small variations.
Hot-Air Roasting – Precision in Motion
Now let’s talk modern roasting methods! Hot-air systems use convection, where beans float on a fluid bed of superheated air. This hot air circulates uniformly:
- Signature Flavor Profile:
- → Vibrant acidity and clean fruit notes
- → Crisp finish ideal for pour-over or cold brew
- → Preserves delicate floral nuances
🌟 What’s fascinating: The fluid bed technology minimizes scorching – especially helpful for light-roasting dense Ethiopian beans.
Choosing Your Roasting Champion
Your preferred coffee roasting methods depend on these key factors:
Drum Roaster:
- Evenness: Medium (contact variations)
- Heat Control: Needs experience
- Signature Taste: Bold, heavy body
- Bean Compatibility: Best for moisture-stable Brazils
Hot-Air Roaster:
- Evenness: High (airflow consistency)
- Heat Control: Beginner-friendly
- Signature Taste: Bright, clean flavors
- Bean Compatibility: Excels with delicate Ethiopia
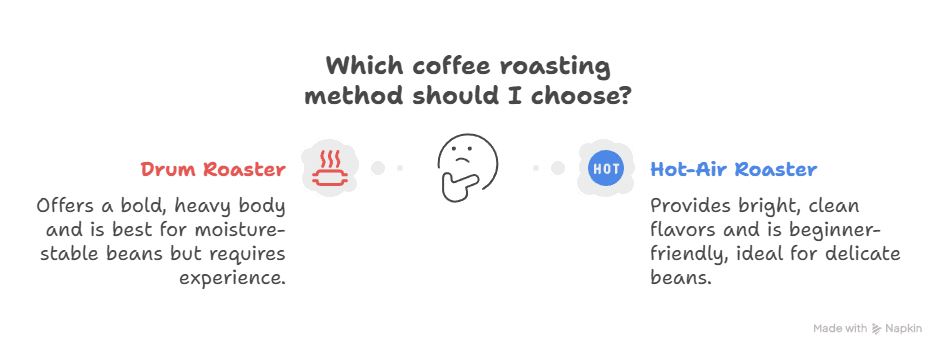
💡 From my notes: Hot air systems deliver reliable results for single-origin coffees. Drum roasters excel at creating balanced blends.
Coffee Roasting Techniques by Roast Level
Light Roast – Capturing Vibrant Nuances
When mastering coffee roasting techniques for lighter roasts, your mission is preserving those delicate origin notes. Here’s how we protect acidity and fruit-forward character:
- Key Parameters:
- → Final Temp: 205-210°C
- → Duration: 9-11 minutes
- → Stopping Cue: 15-30 seconds after first crack ends
💡 Pro insight: Extend drying time slightly to avoid tipping (scorched edges) – the secret to crystalline acidity in Ethiopian Yirgacheffes!
Medium Roast – The Art of Balance
This crowd-pleasing profile demands perfect harmony. Your coffee roasting techniques should balance three elements:
- Flavor Triad:
- → Bright acidity (like green apple)
- → Caramelized sweetness
- → Velvety body
- Key Parameters:
- → Final Temp: 215-220°C
- → Duration: 11-13 minutes
- → Stopping Cue: Midway between first and second crack
🌟 Fascinating fact: Medium roasts develop 20% more sweetness than light roasts through controlled caramelization. Try Colombian beans to experience this magic!
Dark Roast – Walking the Flavor Tightrope
Pushing beans further requires vigilant coffee roasting techniques. Beware oil surfacing – that glossy sheen signals over-development:
- Critical Safeguards:
- → Max Temp: ≤ 230°C (beyond this = burning)
- → Max Time: ≤ 15 minutes
- → Stopping Cue: At first audible second crack
- Flavor Rescue Tip:
- Reduce heat by 5°C/minute after first crack to avoid smokiness overpowering chocolate notes
⚠️ From my logs: Sumatra handles high heat well, but watch bean color closely. Stop at deep brown—never black.
Pro Tips & Troubleshooting
4 “Roast-Ruining” Mistakes & How to Fix Them
Avoid these mistakes when setting up your coffee roasting process—they can ruin your batch. This is critical for busy shops roasting small volumes:
Scorching (Burnt Edges)
- Why it happens: Rushing drying phase with aggressive heat
- Fix: Reduce initial temp by 10°C for first 2 minutes
⚠️ Roaster alert: Listen for rapid “cracking” sounds – your first warning sign!
📌 Keep low, stable Rate of Rise (RoR) here for uniform development and avoid scorch. Professional roasters widely use this method. (Perfect Daily Grind, 2020)
Under-development (“Grassy” Flavor)
- Why it happens: Cutting Maillard stage too short
- Fix: Extend 150-190°C phase by 1-2 minutes
💡 Pro tip: Kenyan beans need extra Maillard time – aim for caramelized sugar notes
Baking (Flat, Lifeless Beans)
- Why it happens: Temperature dips below 200°C post-first crack
- Fix: Maintain ≥200°C during development
🌟 For coffee shops: Use thermal probes to monitor bean mass temp, not just air!
Poor Chaff Removal (Fire Risk & Flavor Spoilage)
- Why it’s catastrophic: Ignited chaff causes roaster fires, Smoky off-flavors, Non-compliance with emission regulations
- → Budget option: Use vacuum attachments + HEPA filters (85% efficiency)
→ Pro upgrade: Install cyclone systems – ROI in 18 months via reduced fire insurance premiums
🌟 The Probat Solution: “Cyclone separator achieves 99% chaff removal efficiency while limiting dust emissions to ≤20 mg/m³. This exceeding Germany’s TA Luft standards” (Probat, 2024).
Cooling & Resting – Your Secret Weapon
Perfecting this coffee roasting procedure ensures high quality in every cup:
Step 1: Rapid Cooling
- Chill beans within 4 minutes using fans/cooling trays
- → Critical for preserving delicate floral notes in light roasts
Step 2: Degassing Rest
- Store in airtight containers 24-72 hours
- → 48 hours ideal for espresso; 24 for filter
Step 3: Packing – The Freshness Lock
- Use one-way valve bags → Releases CO₂ while blocking oxygen
“According to the SCA, CO₂ levels post-roast impact freshness and extraction quality. But ideal values vary with bean density/roast profile, and no fixed standard exists” (Samo Smrke, 2019).
→ Pro Tip: For espresso, delay packing to Day 2–3 (extra degassing reduces channeling).
- Readiness Check:
- → Sweet aroma (no smoke or grass)
- → Dry surface (oil-free for light/medium)
- → Uniform color (no blotchy spots)
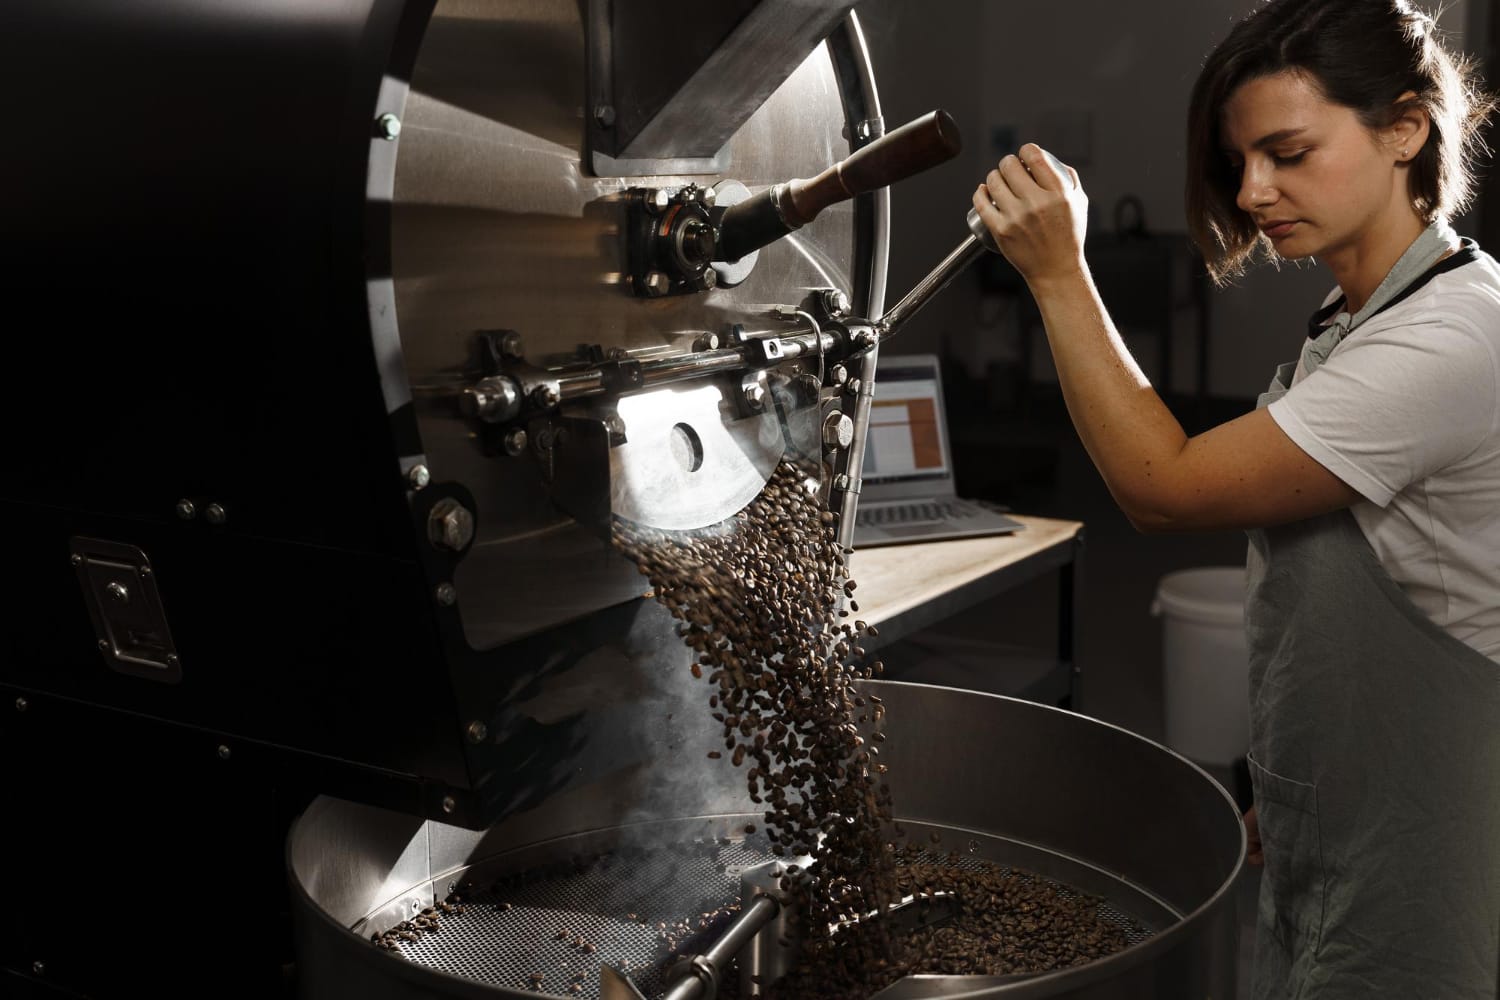
✨ High quality secret: Ethiopian naturals need 72-hour rests – patience rewards with blueberry explosions!
Conclusion & Practice Roadmap
Your Professional Quality Checklist
Before sealing any batch – whether you’re experimenting at home or supplying coffee producers – run through these non-negotiables:
- ✅ Uniform bean color (no light/dark patches)
- ✅ Zero scorch marks (check edges carefully!)
- ✅ Sweet fragrance (caramel/fruit notes, never smoke)
- ✅ Even snap when squeezed (tests moisture distribution)
🌟 Fun fact: Top coffee producers use this exact checklist – it catches 90% of roasting flaws before packaging!
Roasting Starter Plan
Ready to confidently roast coffee? This beginner-friendly roadmap builds skills safely:
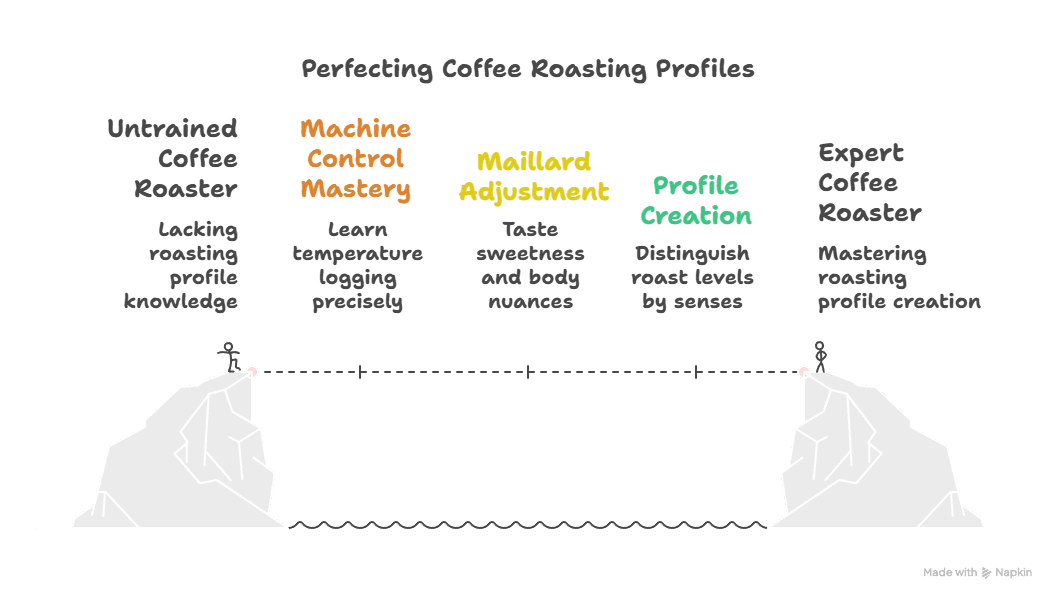
💡 Pro insight for shops: Start with small batches (under 500g) when dialing in new beans – saves costs while mastering your roast coffee signature!

