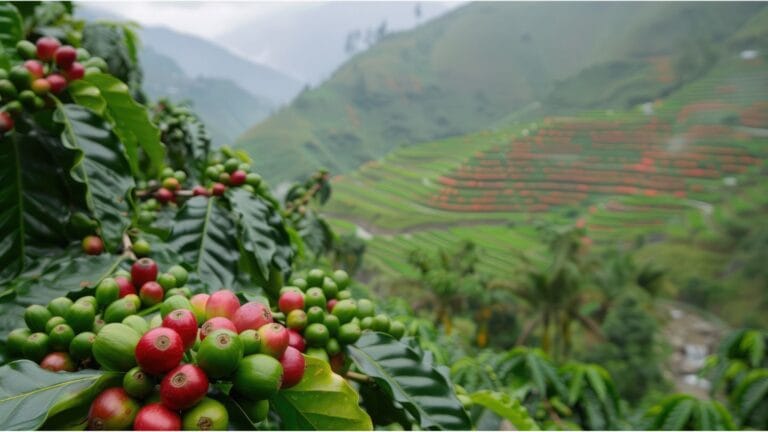
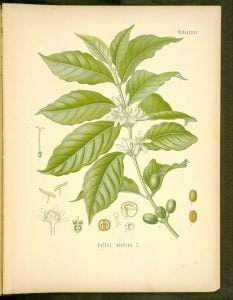
Ever wondered what it actually takes to grow coffee from seed to cup? You’re not alone. Most coffee lovers don’t realize their daily cup takes years of careful farming with precise timing at every step.
Here’s the thing – coffee farming isn’t just planting seeds and waiting. Think of it like conducting an orchestra – soil prep, climate, and harvest timing must all work together perfectly. If you want to start coffee production or grow coffea arabica at home, learning this process is important.
Think of this as your roadmap through the complete coffee farming process. We’ll walk through four distinct phases that every coffee plant goes through, from that first soil test to your first harvest. By the end, you’ll understand why great coffee takes years to develop – and why that wait is absolutely worth it.
Coffee Farming Process: From Soil to Harvest
Phase 1: Preparation & Planning (Months 1-6)
The foundation of successful coffee farming happens long before you plant a single seed. Some people skip this phase completely. That’s a mistake because coffee plants need very specific growing conditions.
Essential preparation steps include:
- Choosing the right coffee variety: this is the most critical decision in coffee farming – one wrong choice means losing 4 years of investment before you even realize the mistake.
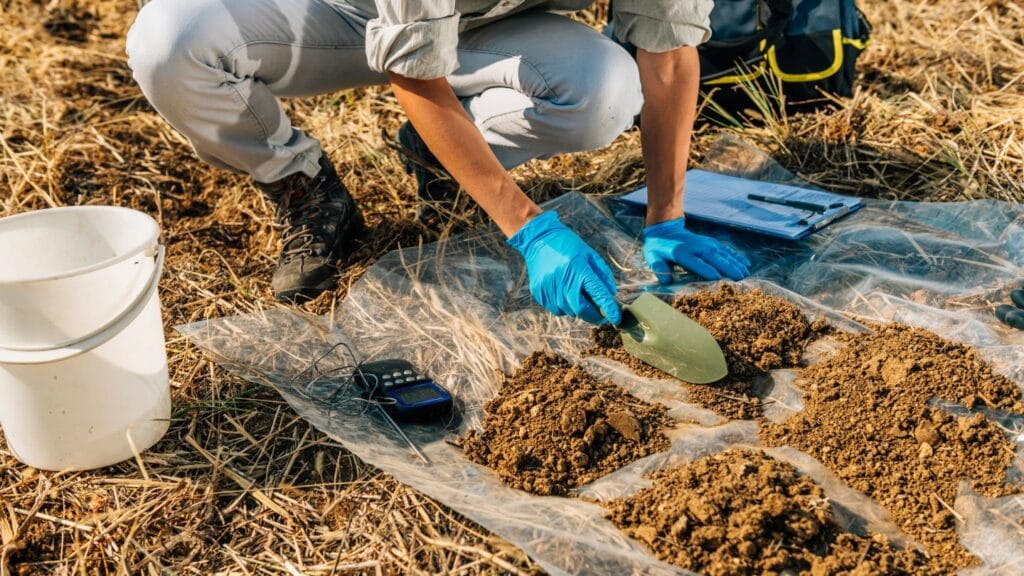
- Soil testing and improvement- Coffee fields needs soil pH between 6.0-6.8 for best growth (Oregon State University Extension Service)
- Nutrient analysis and base fertilization– Test nitrogen, phosphorus, and potassium levels, then incorporate organic compost 3-6 months before planting
- Site selection and drainage planning– Poor drainage kills more coffee plants than pests
- Shade tree establishment– 30% canopy coverage protects young plants
- Infrastructure development– Irrigation, pathways, and processing areas
- Investment planning– Budget $1,500-8,000 per hectare for commercial operations
Here’s something amazing: coffee seeds take 1 to 2 months to sprout. The plants need 3 to 4 years before they flower (Korean Society for Plant Biotechnology, 2021). That means your nursery work during these first six months directly impacts harvests four years from now.
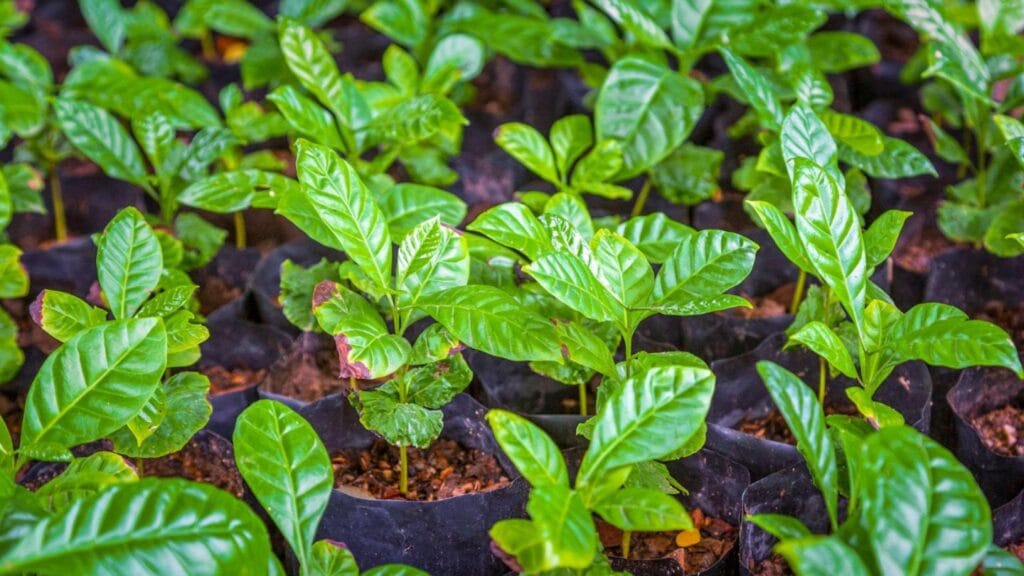
The smart coffee farmers I know spend more time in this phase than any other. Why? Because fixing problems later costs ten times more than preventing them now.
Phase 2: Planting & Establishment (Year 1-2)
Now comes the exciting part – actually getting your coffee plants in the ground. But before you get too eager, there’s a science to this that can make or break your entire operation.
Optimal planting specifications:
- Spacing requirements– Agricultural research institutions recommend optimal spacing of 2.5m x 2m for coffea arabica varieties to maximize productivity (Philippines Department of Agriculture)
- Transplanting timing– Move seedlings at 12-18 months for best survival rates
- Initial care protocols– Consistent watering without waterlogging
- Nutritional support– Light nitrogen with balanced 10-10-10 plant food every 3-4 months. Plus extra phosphorus for strong roots during early growth
- Early pest management– Prevention is infinitely easier than treatment
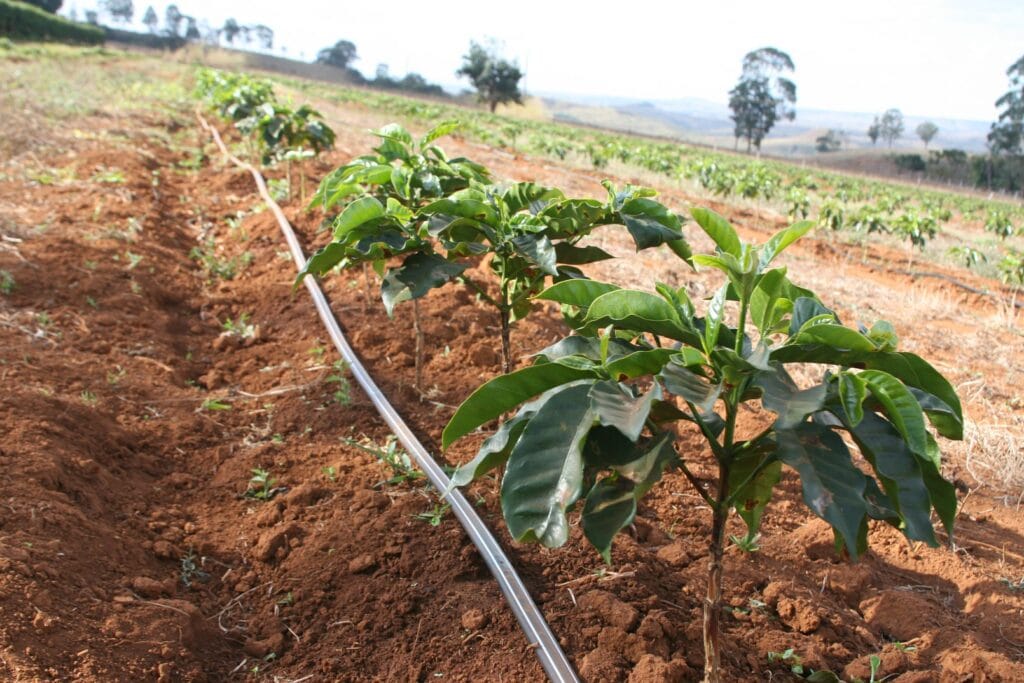
What’s really changed the game recently is modern technology integration. Smart farmers now use GPS monitoring systems and soil sensors to track moisture levels in real-time. It sounds high-tech, but these tools actually make coffee farming more predictable and less stressful.
During this establishment phase, you’re essentially teaching your coffee plants how to thrive in their new home. The attention you give them now determines whether they’ll be resilient, productive plants or struggle their entire lives. Think of it like raising children – the early years set the foundation for everything that follows.
Phase 3: Development & Maturation (Year 3-4)
Here’s where patience really pays off. Your coffee tree specimens are finally ready to produce, but it’s important to set realistic expectations during this phase.
Development realities you need to know:
- First harvest expectations– Coffee plants need at least 3 years to start producing coffee cherries. So your first coffee is harvested at 3-4 years after planting (Taylor & Francis, 2023)
- Yield progression– Year 3 coffee crop produces about 30% of full potential
- Production fertilization– Increase nitrogen when plants prepare to flower. Using 12-12-17 NPK ratio three times per year: before blooming, after harvest, and mid-season.
- Pruning schedules– Annual maintenance becomes critical
- Harvest – Choose between strip picked for efficiency or hand pick only the ripe cherries for quality.
- Method of processing – Plan for washed process, dry process or hybrid process depending on your target market
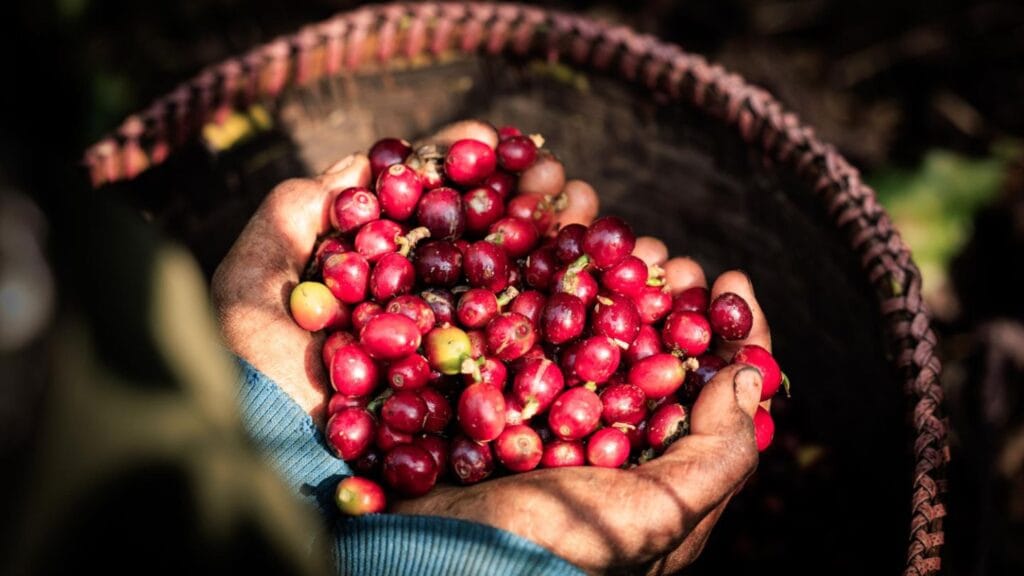
The reality is, most new coffee farmers feel discouraged during this phase because they experience lower yields than expected. But here’s what the research shows: plants produce modest yields in year three typically become the highest producers in years five through fifteen.
Labor management also becomes crucial here. You’ll need 30-40% more workers during harvest season, so start building those relationships early. The farms that struggle most are those that wait until harvest week to find help.
You’ll typically start making money around year three, which is why smart financial planning in Phase 1 is so important.
Coffee Growing Regions: How Location Shapes the Process
Now, here’s where coffee farming gets really interesting. The same four-phase process we just covered looks completely different depending on where in the world you’re growing.
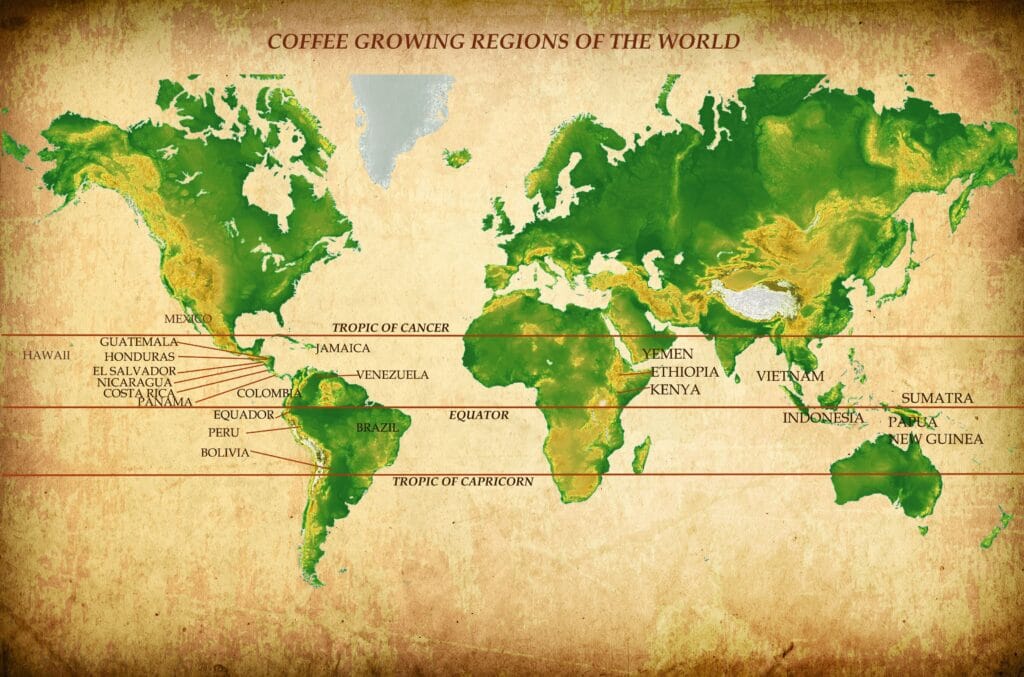
Central America’s high-altitude regions extend each phase by several months. The cooler temperatures mean slower growth, but the trade-off is incredible flavor complexity. Guatemala and Costa Rica have perfected this patient approach over generations.
Brazil’s mechanized operations have transformed phases 2 and 3 entirely. They’ve created special machines that can plant and harvest huge areas, turning manual work into high-tech farming.
Ethiopia and Kenya use traditional methods that farmers have perfected over centuries. Their growing methods use special processing coffee methods. These methods take weeks longer but create unique flavors you can’t find anywhere else.
Indonesia and Vietnam focus heavily on robus, which actually mature faster than arabica. Their growing schedule compresses phases 1-3 but requires different processing techniques entirely.
The key insight? There’s no single “correct” coffee farming approach. The best method for your situation depends entirely on your climate, elevation, resources, and market goals.
Modern Pressures on Coffee Farming
The traditional coffee development process I just described? It’s under serious pressure. Climate change is seriously disrupting every phase we’ve discussed.
Critical challenges reshaping farming schedules:
- Coffee research institutions predict that land suitable for arabica coffee will shrink by 50% by 2050 (World Coffee Research)
- Uncertain weather patterns disrupt planting and harvest schedules
- Rising temperatures force farms to higher elevations
- Increased pest pressure shortens productive lifespans
But here’s the encouraging news: innovation is keeping pace with these challenges. Recent peer-reviewed research indicates that precision agriculture technologies can increase coffee productivity by up to 15% (ScienceDirect, 2025).
Smart monitoring systems now help farmers adjust their schedules instantly based on soil and weather conditions. Academic research confirms the implementation of IoT monitoring systems for coffee plantation management (ResearchGate).

The farmers who succeed long-term are those who embrace both traditional knowledge and modern tools.
Home Coffee Growing: Scaling Down the Professional Process
Want to try this process at home, in the United States? Good news – it’s absolutely possible. University research confirms the ability of home coffee cultivation for indoor and backyard growing applications (California State University, 2024).
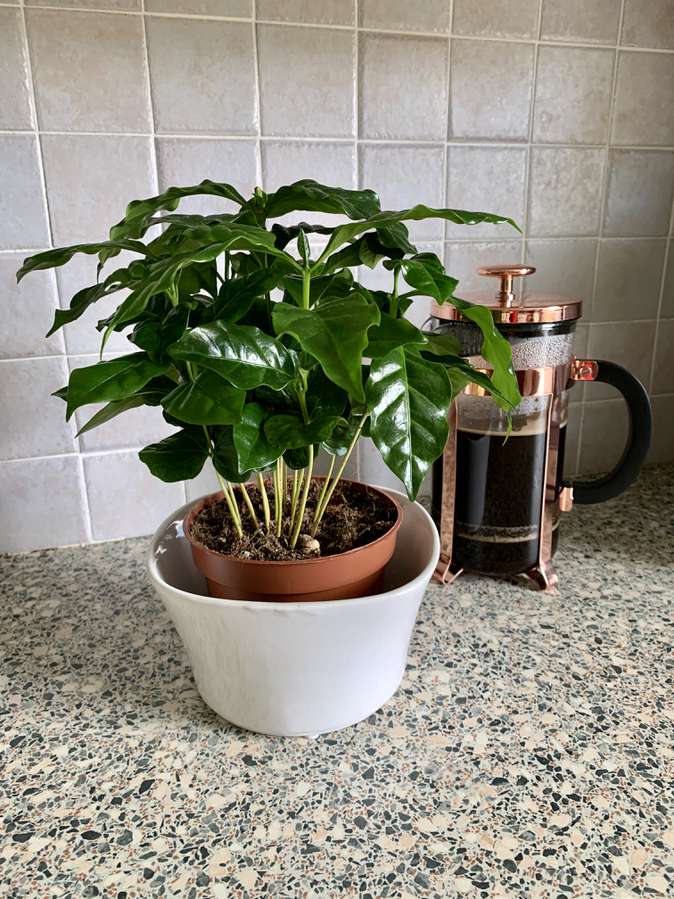
Your home coffee producing journey follows the same four phases but scales down beautifully:
- Phase 1: Pot selection and soil prep (weeks, not months)
- Phase 2: Planting and establishing indoor conditions
- Phase 3: Patient care while your plant matures
- Phase 4: Your first homegrown green coffee beans in 4-6 years
Coffee plants require temperatures between 59-75°F with high humidity (Pepe’s Plants) for optimal home cultivation. Feed your houseplant with balanced liquid fertilizer every 2-3 weeks during growing season, reducing frequency in winter. Your investment? Around $20-50 versus thousands for commercial operations.
The success rate with proper care? About 75% of home growers see their first beans.
CONCLUSION
You now know something most coffee drinkers never learn: great coffee is a story that takes years to develop, not weeks. Whether you’re considering commercial farming or just want to grow a plant in your kitchen, these four phases remain your roadmap.
The preparation phase sets everything in motion. The establishment phase builds your foundation.
The development phase teaches patience. And the production phase? That’s where all your process knowledge pays off in the most delicious way possible.
Ready to start your own coffee journey? Whether you’re planning a farm or potting your first plant, you’ve got the knowledge to succeed. Your coffee farming adventure starts with understanding these phases – and now you do.
Frequently Asked Questions about Coffee Farming
What is the coffee farming process from planting to harvest?
The coffee farming process follows four main phases: Preparation & Planning (soil testing, variety selection, site prep), Planting & Establishment (spacing, transplanting, early care), Development & Maturation (first harvest at 3–4 years, pruning, fertilization), and Production & Harvest (annual yields, processing choices). Each stage builds on the previous to ensure healthy trees and optimal coffee quality.
How long does it take for coffee plants to produce their first cherries?
Coffea arabica seedlings typically need 3–4 years from planting to start producing ripe cherries. During this period the trees develop roots, flowering buds, and the internal chemistry needed for high‑quality beans.
What factors influence the success of coffee farming in different regions?
Climate, altitude, soil pH (ideally 6.0–6.8), and rainfall patterns are key. High‑altitude areas like Guatemala slow growth but boost flavor complexity, while mechanized regions such as Brazil speed up planting and harvesting. Local pest pressures, water availability, and market demands also shape regional practices.
Can home coffee growers replicate the commercial coffee farming stages?
Yes. Home growers follow the same four phases on a smaller scale: choose a pot and soil, plant seedlings, maintain light watering and moderate fertilization, and wait 4–6 years for the first beans. Indoor conditions should stay 59–75 °F with high humidity for best results.
How does precision agriculture technology benefit coffee farming?
IoT sensors, GPS monitoring, and real‑time soil‑moisture analytics can boost coffee productivity by up to 15 %. These tools help farmers adjust irrigation, fertilization, and pest controls instantly, reducing losses from climate variability and improving overall yield and quality.

