Building a DIY coffee roaster is like being a caffeinated wizard in your kitchen—just watch out for the smoke! Start with a cooling tray, keep those beans spread out and get a fan going! Next, you’ll want to trap all that pesky chaff with a collector and a cyclone separator (it sounds fancy, but it just keeps the mess down!). Don’t forget to heat things up with a reliable gas burner and build a sturdy platform for your drum. Trust me, it’s a fun ride! Stick around, and you’ll hear more about how not to burn your beans!
Key Takeaways
- Construct a cooling tray using a perforated surface and a fan for effective air circulation and quick cooling of roasted beans.
- Assemble a chaff collector with a swivel hood and cyclone separator to manage smoke and avoid chaff accumulation during roasting.
- Use infrared gas burners with safety features, ensuring proper airflow and temperature control while roasting coffee beans.
- Build a sturdy platform for the drum motor, ensuring insulation and stability to handle the heat and vibrations during operation.
- Install a durable stainless steel drum with carefully calibrated thermocouples for accurate temperature monitoring and consistent roasting results.
Build Cooling Tray
When you ultimately fire up that DIY coffee roaster and wrestle with those hot, aromatic beans, you might feel a tad overwhelmed thinking about how to cool them down without causing a mini-mess in your kitchen (trust me, nobody wants to find coffee chaff under their couch!).
Feeling overwhelmed after roasting your own coffee? Cooling those aromatic beans without the mess is key—no one wants chaff hiding under the couch!
To build a reliable cooling tray, start with a perforated surface—like a metal mesh or a colander—allowing airflow to dance through those hot beans efficiently. Adding a small fan beneath to enhance that cooling efficiency is essential because beans can cool quickly when spread out in a thin layer! Keep the layer of beans shallow for maximum airflow exposure.
It’s like giving your coffee the breeze it deserves! And remember, normal materials like buckets or crates are perfect—who knew DIY could be so chill? (Pun totally intended!)
Assemble Chaff Collector & Exhaust
Assembling a chaff collector and exhaust system might sound like a challenging task, but don’t fret—it’s actually a lot like building a Lego set, minus the emotional breakdown when you realize you’ve got an extra piece!
Initially, secure that swivel hood over the roast chamber—think of it as the cherry on top of your coffee sundae, capturing all that pesky chaff and smoke.
Next, set up a cyclone separator, using those fancy chaff separation techniques to create centrifugal airflow.
Don’t forget your high-performance blower—it’s like the enthusiastic coffee cheerleader, pushing air through the system.
Ultimately, place those delightful mesh filters at the exhaust outlets to tackle any sneaky fine chaff particles—no one likes surprises in their coffee!
Construct Gas Burner

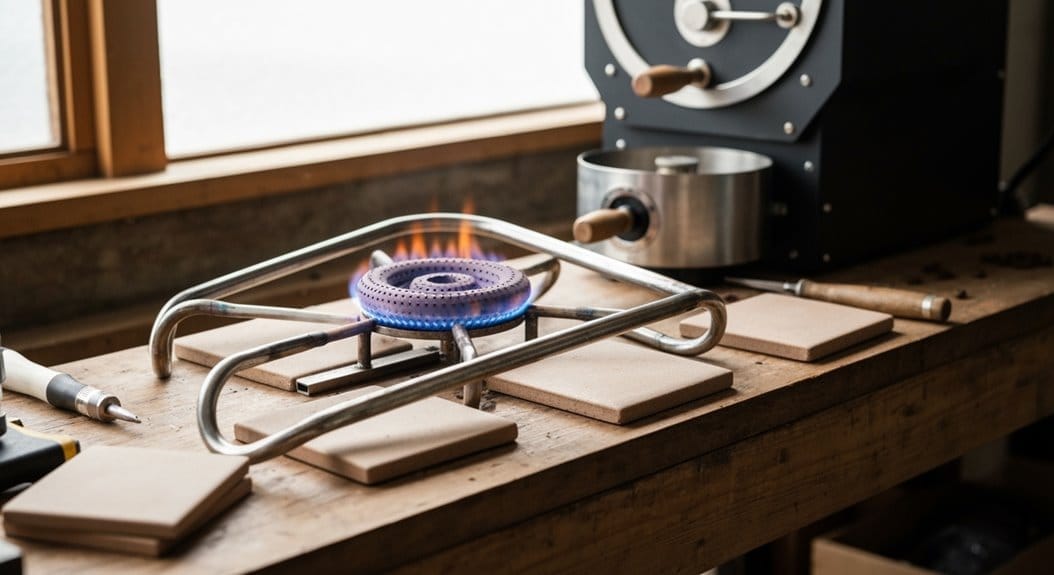
Building a coffee roaster? Well, let’s get that burner brewing! Infrared gas burners are your best buddies here, turning flames into infrared heat.
Imagine this: a camp stove under a stainless plate—voilà, instant coffee magic!
Don’t forget your gas safety essentials: pressure gauges, regulators, and a trusty needle valve for that precise flow control. You want to avoid those wild flame parties, right? (Trust me, it’s not fun!)
And hey, make sure your burner placement allows for some good airflow, because nobody likes a choked flame.
Oh, and thermocouples for the win—if that pilot light takes a hike, the gas shuts off. Now that’s what I call burner efficiency! Roasting can’t commence without it!
Build Platform & Install Drum Motor
Creating a sturdy platform for a DIY coffee roaster might seem like a simple task, but trust me, it can turn into a comedy show real quick! Seriously, platform stability is no joke! It needs to be solid to support your roaster while keeping the motor aligned with the drum shaft.
| Task | Tip |
|---|---|
| Build it strong! | Use thick wood planks and screws |
| Align that motor! | Don’t forget the motor coupling |
| Insulate wisely! | Protect your base from heat |
| Check for wobbling! | Regular alignments are key! |
Install Drum & Thermocouples

Installing the drum and thermocouples might sound like a fun day at the coffee shop, but let’s be real—it can quickly turn into a major headache!
Initially, a misaligned drum can create all kinds of chaos—think beans flying out like confetti at a party. So, here’s what to remember for proper drum alignment:
A misaligned drum can lead to a chaotic mess—avoid beans flying like confetti by ensuring proper alignment!
- Carefully position threaded rods for thermocouple length to avoid drum collisions.
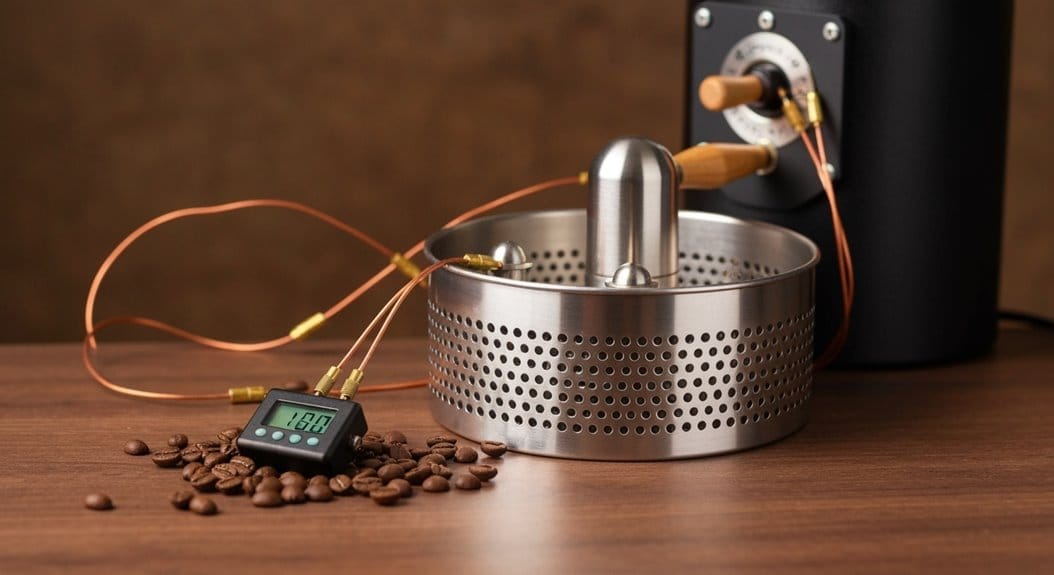
- Select a durable drum material like stainless steel for longevity and hygiene.
- Calibrate those thermocouples to get accurate temperature readings—no one wants a burnt batch!
Take it slow, check clearances, and watch that the thermocouples don’t block the drum’s rotation. Trust me, your coffee will thank you later!
Frequently Asked Questions
What Are the Best Beans for Home Roasting?
The best beans for home roasting include specialty beans from diverse origins, specifically single-origin Arabica and Central American varieties. Origin factors such as flavor profile and defect rates greatly influence the roasting experience and final taste.
How Do I Adjust Roast Levels for Different Flavor Profiles?
To adjust roast levels for different flavor profiles, one must focus on roast development by varying temperature and duration. Careful monitoring of visual, aromatic, and behavioral changes during roasting markedly influences the resulting flavor profiling.
Can I Roast in an Indoor Setting Safely?
Roasting indoors can be safe if proper ventilation requirements are met and essential safety precautions are taken. Implementing effective exhaust systems and using protective gear helps mitigate risks associated with smoke and harmful emissions.
How Often Should I Clean the Roaster After Use?
Cleaning frequency should be daily for superficial upkeep, while weekly and monthly cleaning maintenance tips are essential for thorough hygiene. Regularly inspecting and addressing cleanliness guarantees peak performance and prolongs the lifespan of the roaster.
What Tools Are Essential for DIY Coffee Roasting?
Essential equipment for DIY coffee roasting includes screwdrivers, pliers, heat sources like gas burners, and monitoring instruments such as thermometers. These tools support different roasting methods, ensuring consistency and quality throughout the roasting process.
References
- https://www.instructables.com/How-to-Build-a-Traditional-Drum-Coffee-Roasting-Ma/
- https://www.youtube.com/watch?v=VQrooLDdnfc
- https://makezine.com/article/home/food-beverage/my-15-year-quest-to-make-the-ultimate-diy-coffee-roaster/
- https://library.sweetmarias.com/build-your-own-home-coffee-roaster-with-larry-cotton/
- https://www.home-barista.com/roasting/diy-cooling-bins-t39856-10.html
- https://www.coffeeforums.co.uk/threads/homemade-cooling-tray.58999/
- https://ashellc.com/chaff-collection/


