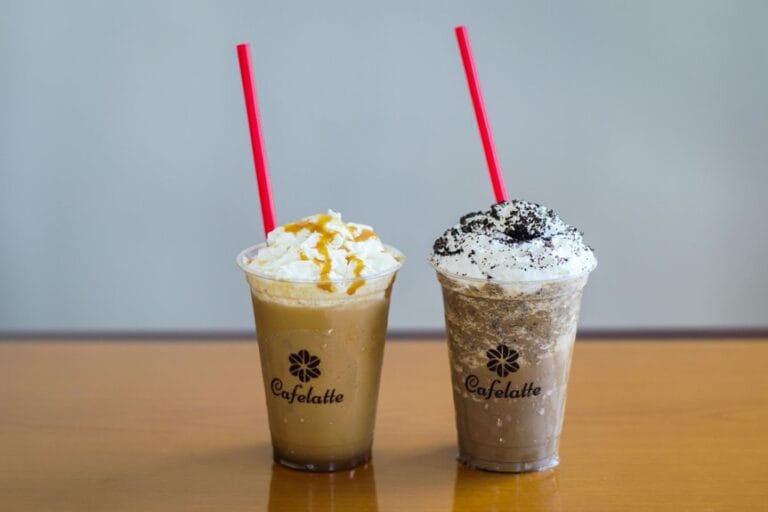
Combine unsweetened cocoa, sugar, and a pinch of salt, whisking with hot water until smooth. Simmer the mix on medium heat, stirring until glossy and thickened, about 5 minutes. Remove from heat, blend in vanilla for depth, then cool to room temp. Pour into a jar, seal tight, and drizzle over iced coffee, ice cream, or pancakes. The magic lies in balancing sweetness and cocoa—perfect your pour, and uncover even more tricks ahead!
Gather the Essential Ingredients
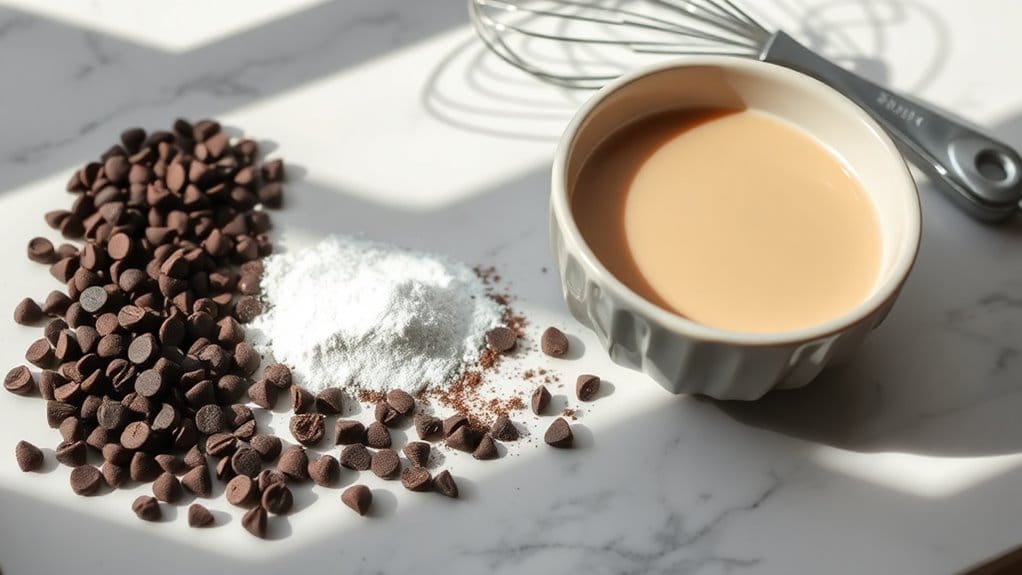
Every stellar mocha drizzle begins with a tight lineup of simple yet mighty ingredients.
The best mocha syrup for coffee relies on three heroes: unsweetened cocoa powder for bold chocolate depth, granulated sugar for smooth sweetness, and water to blend everything into silky perfection.
Three essentials: unsweetened cocoa for bold depth, sugar for smooth sweetness, and water blending into silky perfection.
For a mocha drizzle that shines in iced coffee, skip artificial additives—opt for pure cane sugar or experiment with honey swaps for subtle twists. While some recipes swap in cocoa powder and sugar, chocolate syrup remains essential for achieving the authentic Starbucks-style consistency and gloss in your drizzle.
A splash of vanilla extract and a pinch of sea salt add layers of flavor magic, making each drizzle taste like a fancy café treat without the fuss.
Whether poured over whipped cream or stirred into cold brews, the right mix transforms basic sips into bliss.
Simple? Yes. Compromises? Never. Freedom to customize? Absolutely.
Combine Dry Ingredients and Water
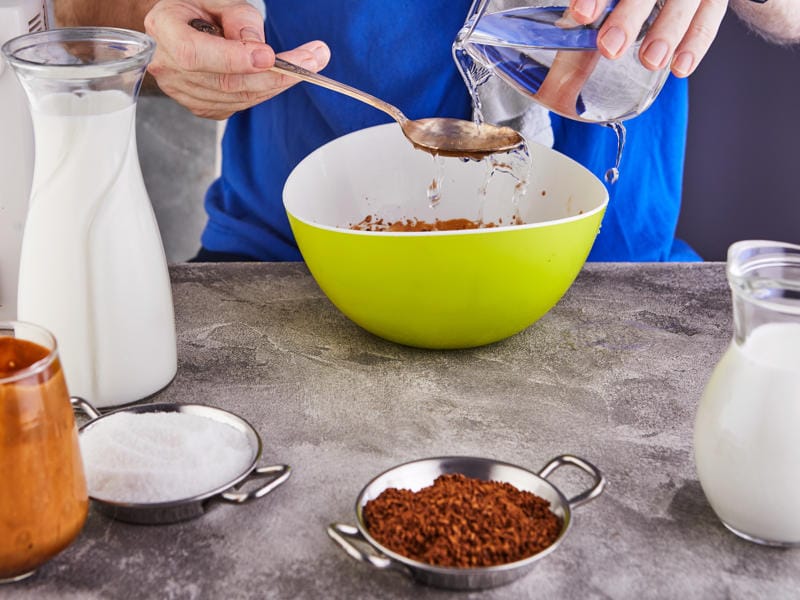
Now that those pantry staples are lined up, warm water gets poured into the mix initially—like a pool party for cocoa powder and sugar! The magic starts with a 1:1 ratio: ½ cup cocoa and ½ cup sugar, with a pinch of salt to balance the sweetness. While the original recipe calls for a 1:5 cocoa to sugar ratio, adjusting the sweetness to taste is straightforward. Stirring furiously breaks up clumps, turning grainy powder into silky liquid freedom. Warm water speeds things up, hugging every speck of cocoa and sugar until they’re BFFs. Avoid cold water—it’s the ultimate party pooper, leaving lumps like uninvited guests.
| Pro Tip | Don’t Do This |
|---|---|
| Whisk like you’re dancing! | Dump all dry stuff at once. |
| Warm water = smooth operator. | Let lumps crash the party. |
| Taste-test sweetness as you go. | Skip salt—it’s the secret DJ! |
Tools matter: a trusty whisk or spoon works, but blenders turbocharge the mix. Once smooth, it’s ready for its next adventure—no simmering yet!
Simmer the Mixture to Thicken
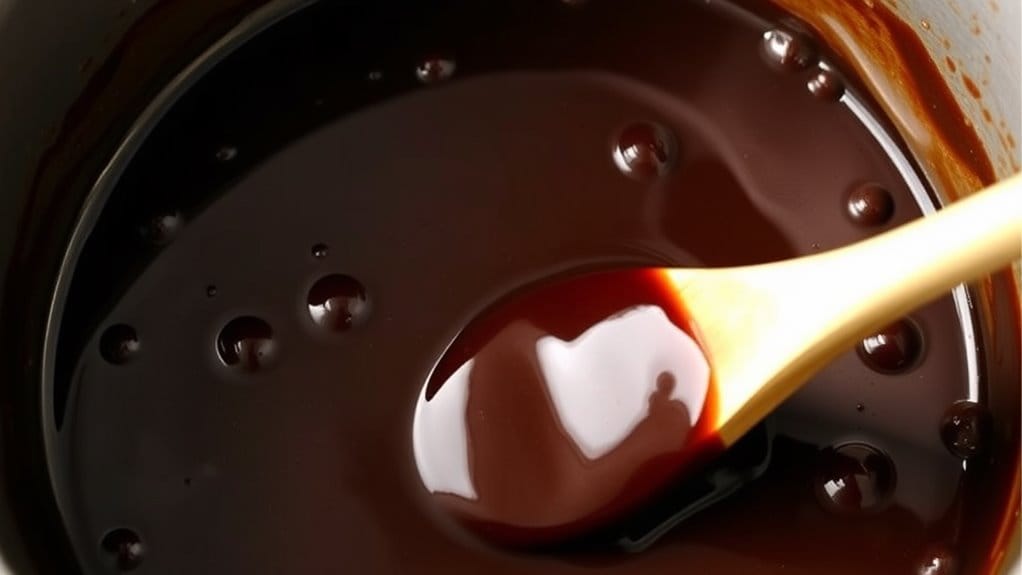
Heat transforms the cocoa-sugar mixture from a thin brew to a rich, glossy sauce as it simmers in the saucepan. Using an electric hand mixer during initial mixing ensures cocoa and sugar blend seamlessly, eliminating clumps before heating. Once combined with water, the mixture bubbles gently over medium heat, its sweetness mellowing while its texture thickens. Stirring regularly is key—letting the spoon glide through the liquid guarantees sugar dissolves fully and cocoa clumps vanish, like a chocolate magician’s trick.
The magic happens when steam rises and tiny bubbles dance, signaling it’s time to watch closely. Two to five minutes of patience turns watery swirls into velvet, clinging to the spoon’s back.
Keep the heat steady, avoid rushing—scorched cocoa tastes bitter, not bold. The sauce tightens as water evaporates, ready to crown coffee, ice cream, or even pancakes with freedom to drizzle anywhere.
Stir in Vanilla Extract
Once the mocha mixture is off the heat, vanilla extract is stirred in, releasing its sweet, cozy aroma that lifts the chocolate-coffee flavors like a friendly high-five!
Timing matters here—adding it too soon might let the heat steal its magic, so patience pays off.
The vanilla rounds out any sharp edges, making the drizzle taste like it’s giving your taste buds a warm, velvety hug.
Enhance Flavor Profile
To transform a basic mocha drizzle into something magical, vanilla extract swoops in like a flavor superhero, adding warm, sweet aromas that make chocolate and coffee sing together. Its secret power? Balancing bitterness with cozy, caramel-like notes while enhancing richness without extra sugar. Vanilla’s antioxidants even help keep the drizzle fresher, blending health perks with pure indulgence.
| Benefit | How It Works | Result |
|---|---|---|
| Flavor Balance | Softens coffee’s sharpness, cocoa’s depth | Smooth, harmonized taste |
| Sweetness Enhancement | Tricks taste buds into sensing more sugar | Less added sugar needed, same joy |
| Antioxidant Lift | Fights free radicals in chocolate/coffee | Healthier sips, stable drizzle |
| Mood Magic | Triggers calm, happy brain vibes | Relaxing coffee ritual vibes |
| Versatility | Pairs with mint, caramel, or spices | Endless flavor adventures |
Vanilla turns the drizzle into a happiness party in your mug, where every drop whispers, “You deserve this.” Mouthfeel gets velvety, bitterness fades, and suddenly, coffee breaks feel like tiny vacations. Game-changer revealed.
Timing for Incorporation
Timing is everything with vanilla extract, like inviting a superstar guest to a party just as the cake’s being sliced.
In mocha drizzle, vanilla should arrive after the pan’s off the heat—no early entries. Heat dulls its bright flavor, so skip adding it while simmering. Instead, stir it in once the syrup’s cooled slightly, around 160°F or lower, so the alcohol carrying its aroma stays put.
Think of vanilla as a flavor diva: too hot, it sulks and fades; too cold, it won’t mingle. Use a spoon or whisk for a smooth mix, but keep it gentle—over-stirring adds bubbles, wrecking that glossy drizzle vibe.
Let it cool, seal it tight, and watch that vanilla magic stick around for weeks.
Allow the Drizzle to Cool
Cooling the drizzle lets it thicken slightly, making it easier to control for drizzling swirls or stripes on drinks.
Skipping this step risks condensation if stored hot, which can water down the syrup or create a sticky mess in containers.
Check the drizzle’s temperature by touching the jar—no warmth means it’s safe to seal, ensuring freshness and perfect texture every time!
Thickening Through Cooling
While the mocha drizzle sizzles fresh off the stove, its texture shifts from watery to velvety as it cools, thanks to sugar teaming up with cocoa to create a lush, spoon-coating consistency.
As the mixture cools—about 10 minutes at room temperature—sugar molecules slow down and bond tighter, thickening the drizzle naturally. Cocoa’s starches swell, enhancing that rich, spreadable feel.
Want it thicker? Let it chill in the fridge, which firms it up for precise stripes on lattes or ice cream. Shallow dishes speed cooling, while occasional stirring prevents clumps.
This magic requires zero effort—just patience! Remember, piping-hot drizzle melts whipped cream and slides off mugs, but cooled syrup sticks like a pro.
Control thickness with cocoa ratios, then store chilled for silky, long-lasting sweetness.
Preventing Condensation Issues
Even though that freshly made mocha drizzle smells irresistible, rushing to use it can lead to a sticky situation—literally!
Hot drizzle sealed too soon traps steam, turning containers into mini saunas with watery drips ruining texture. To sidestep this, let it cool uncovered at room temperature initially, allowing excess moisture to escape instead of pooling inside.
Avoid slapping lids on immediately—patience keeps condensation from forming on surfaces. If storing, wide, shallow containers speed up cooling, and popping a paper towel under the lid absorbs rogue droplets trying to sabotage that glossy finish.
Got condensation anyway? Crack the container open briefly to let things breathe.
Cool it right, and that drizzle stays silky, not soggy—because nobody wants a chocolate sauce that cries!
Pre-Storage Temperature Check
Once the mocha drizzle’s surface stops shimmering with steam, it’s time for a quick check before stashing it away. The drizzle should feel warm, not hot, ideally matching room temperature—between 65-80°F (18-27°C). A too-hot drizzle, if sealed, traps steam, causing condensation that breeds mold or weakens flavor.
Let it cool naturally, uncovered, on a countertop away from sunlight or heat sources. Stirring occasionally stops clumps and speeds cooling. Test by hovering a hand above—no warmth means it’s ready.
Transfer to an airtight container only once cooled completely, avoiding moisture sneaking in, which shortens shelf life. Label with the date, and it’s good refrigerated for weeks or frozen longer.
Proper cooling locks in that rich, glossy texture, ensuring freedom to drizzle anytime without sneaky spoilage.
Transfer to an Airtight Container
To keep that luscious mocha drizzle tasting like a chocolate dream, popping it into an airtight container is the ultimate move! Distance it from air exposure, sticky fingers, and dreaded fridge odors by sealing it tight.
- Glass jars or durable plastic? Both work, but glass keeps flavors fresh and avoids weird plastic-y vibes.
- Cool it initially! Hot drizzle causes condensation, turning your container into a steamy swamp.
- Funnel frenzy: Pour slowly with a funnel, avoiding drips on the counter—no one wants sticky surprises.
- Air is the enemy: Every bubble trapped inside speeds up flavor fade, so press that lid hard.
- Label your loot: Scribble the date so future-you knows when to toss it (but let’s be real—it won’t last that long).
Store it upright, toss it in the fridge, and bask in drizzle freedom!
Incorporate Into Your Favorite Recipes
Now that the mocha drizzle is snug in its airtight container, it’s ready to jazz up everything from morning coffee to midnight desserts!
Swirl it into espresso drinks for a chocolate-coffee kick, drizzle over ice cream, or mix into cold brew for a creamy, frosty treat. Breakfast gets a lift when pancakes, waffles, or oatmeal wear a mocha glaze, while desserts like brownies, cheesecakes, or strawberries dipped in the drizzle turn ordinary bites into wow moments.
Transform espresso, ice cream, or cold brew with mocha’s kick. Elevate breakfast carbs and desserts into cocoa-caffeinated luxuries.
Bakers can layer it into muffin batter, swirl it into cake batters, or pipe it onto donuts for a sweet, caffeinated twist. Got a squeeze bottle? Use it to artfully lace milkshakes, yogurt parfaits, or even cocktails.
Too thick? Warm it slightly, then pour freely. Pro tip: If anyone says mocha doesn’t belong on pizza, ignore them—rules were made to be drizzled.
Frequently Asked Questions
Can I Substitute Cocoa Powder With Melted Chocolate?
Substituting cocoa powder with melted chocolate is possible but requires adjustments. Reducing added fats accommodates cocoa butter in chocolate. Adjust sweeteners if necessary and expect texture differences: richer flavor with thicker consistency.
How Do I Fix a Grainy or Lumpy Mocha Drizzle?
Grainy or lumpy mocha drizzle can result from clumped cocoa, insufficient mixing, or rushed preparation. Sift dry ingredients, heat mixture slowly while whisking continuously, and strain after cooling. High-quality cocoa and proper storage prevent recurrence.
Is the Sauce Safe for Those With Dairy Allergies?
Ah, assuming milk’s inclusion is optional like common sense—the base recipe avoids dairy. Safety hinges on substitutions: pure cocoa, plant-based swaps, and avoiding cross-contact. Read labels like an anarchist dismantling hidden tyranny.
Can I Use a Sugar Alternative Like Stevia?
Stevia can substitute sugar in mocha syrup recipes by adjusting quantities due to its higher sweetness intensity. Blends like Truvia may require halving sugar measurements and balancing potential aftertastes through flavor modifications.
What’S the Best Way to Reheat Refrigerated Drizzle?
Reheating refrigerated drizzle benefits from controlled heat to preserve texture. The stovetop’s low heat with constant stirring prevents burning, while microwave bursts or a double boiler allow precise temperature management for silkier consistency post-reheating.
References
- https://www.butteredsideupblog.com/starbucks-mocha-iced-coffee-recipe/
- https://www.instructables.com/How-to-Make-a-Simple-Mocha/
- https://www.kyyachocolate.com/products/mocha-syrup
- https://lifestyleofafoodie.com/starbucks-mocha-sauce/
- https://www.mcdonalds.com/us/en-us/product/frappe-mocha-small.html
- https://www.youtube.com/watch?v=bw1D6jGxoNY
- https://bakingmischief.com/homemade-mocha/
- https://www.instagram.com/reel/CqeEDebJKU1/
- https://www.youtube.com/watch?v=M4bqjmdCwRY
- https://butfirstwebrunch.com/mocha-mix/

